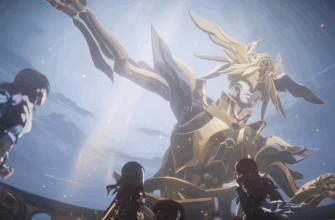
If you’ve been blasting through Memory of Chaos like it’s nothing, Anomaly Arbitration will slap some reality back into you fast. This endgame setup hits hard, and that’s the point – it’s what us long-time players kept begging for. I’ve poured way too many hours into wrestling these fights, and man, when a run finally lines up just right, it hits different from anything else in the game. But let’s cut to the chase on what you’re dealing with here.
What Exactly Is Anomaly Arbitration?
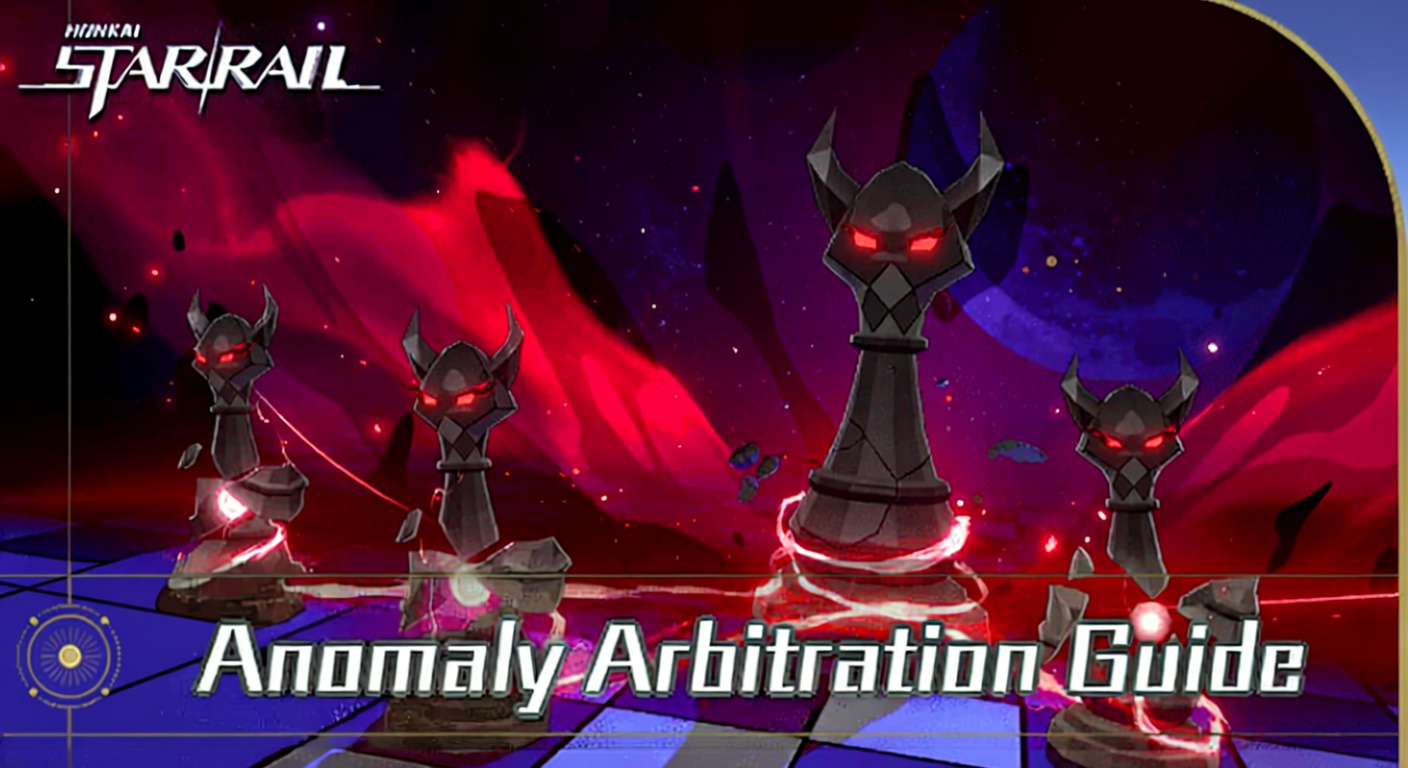
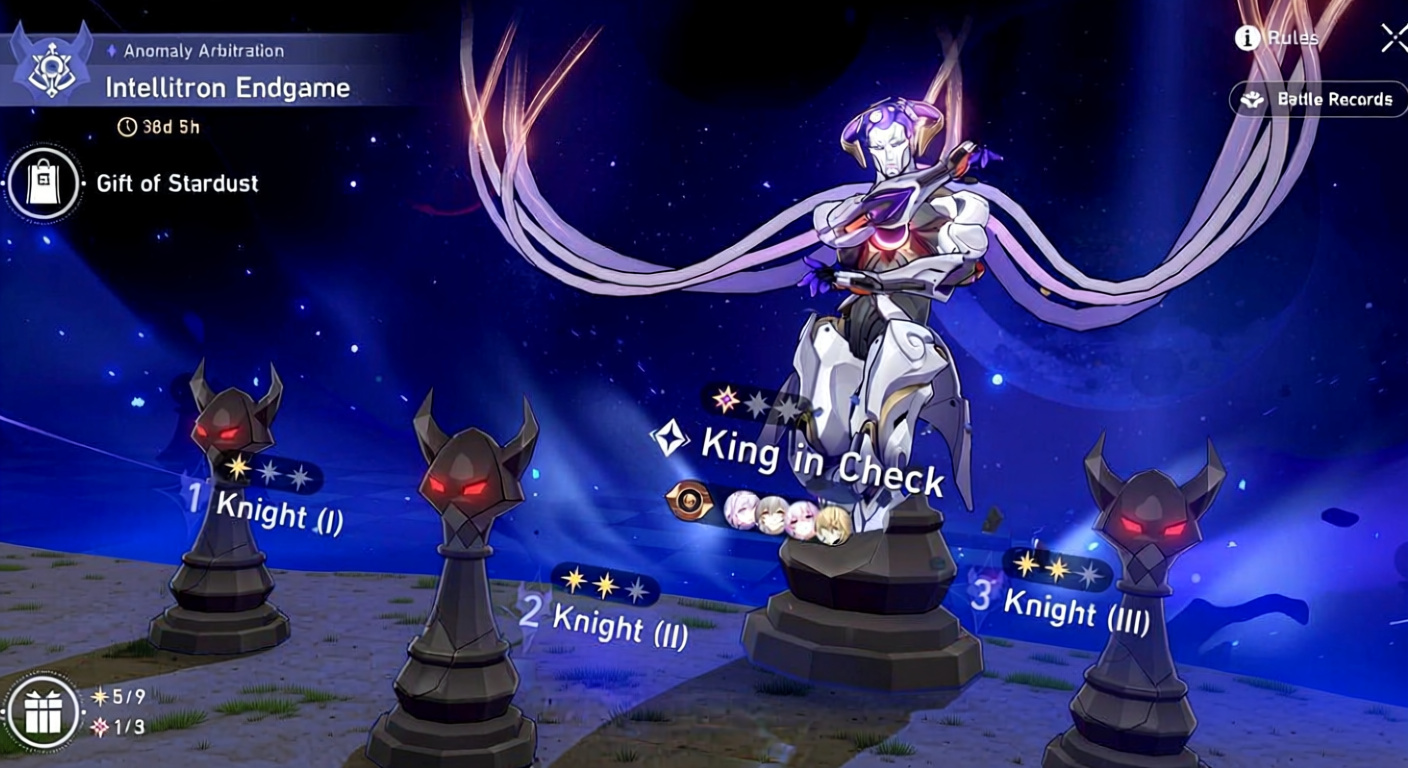
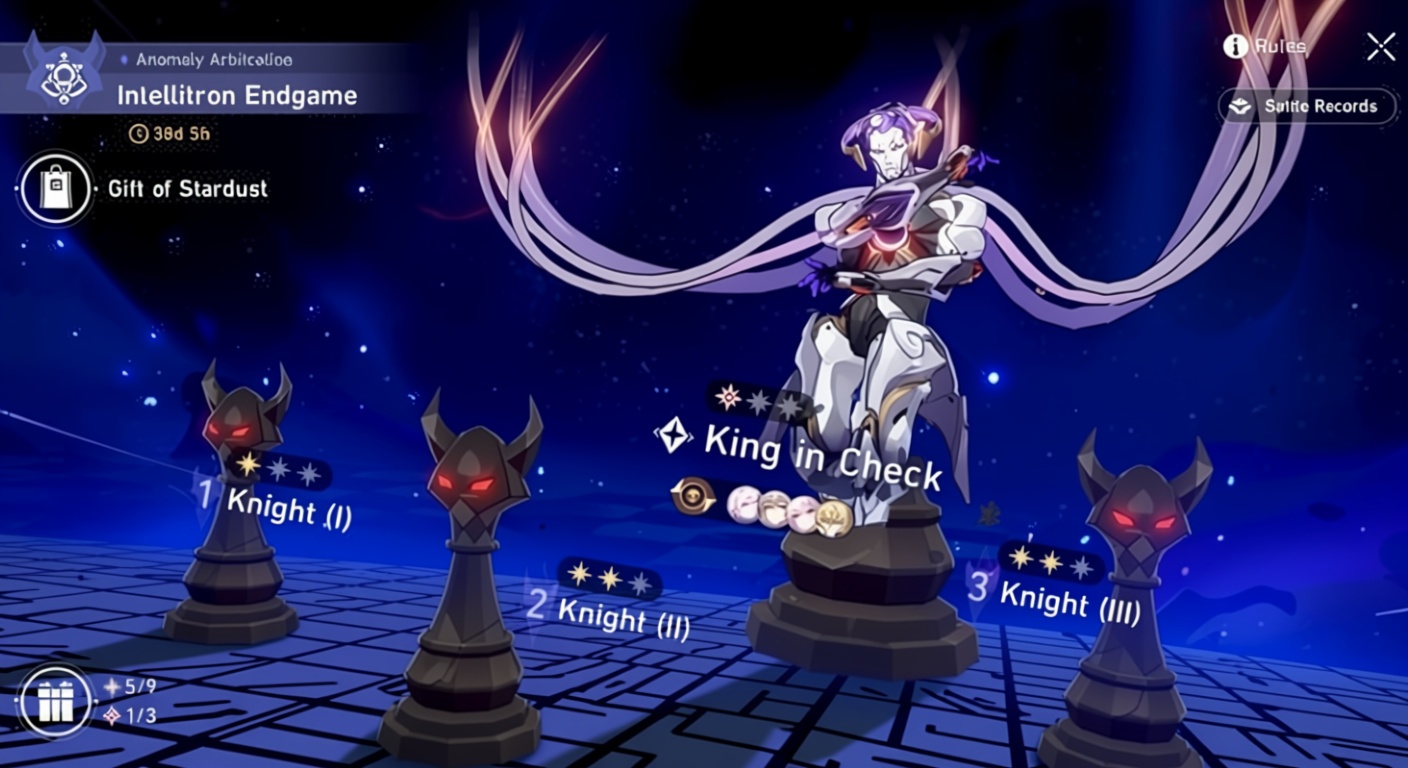
Picture it as the ultimate endgame showdown – a permanent mode that puts your whole roster under the microscope. It’s no mindless farm loop; it’s a straight-up test of how deep your builds go.
Catch is, Stellar Jades aren’t on the menu. Rewards lean into looks and flexing on others, which turns the whole thing into a real gauntlet instead of another chore.
Setup keeps it straightforward:
- Three Knight stages (separate squads for each)
- One King stage (Checkmate) open to whatever team you throw at it
- Stars tied to cycles cleared and keeping your crew standing
Simple on paper. In practice? Total chaos.
Unlocking This Challenge
Game won’t let you near it without showing your chops first. Nail these:
- Full stars on Memory of Chaos Stage 12
- Pure Fiction Stage 4 cleared with max stars
- Apocalyptic Shadow Stage 4 at three stars
- Equilibrium Level 6 or better
Hit those, then swing by the Astral Express Party Car. Chessboard’s ready – and it’s no easy game.
Understanding the Cycle System (This Changes Everything)
Lock this in – it’s make-or-break. First cycle runs double length at 300 Action Values, not the standard 150. Rest stick to 100.
In real terms? Three-star runs (two cycles total) give you 500 Action Values to play with. Stack that against the 600-ish from three cycles in Memory of Chaos, and speed tweaks turn into survival.
First cycle: 300 Action ValuesSubsequent cycles: 100 Action Values eachThree-star run (two cycles): 500 Action Values
Speed breakpoints you should know:
- 134 holds as your go-to for zero-cycle pushes
- 167 sneaks in extra moves sans DDD (Dance Dance Dance) boosts
- One DDD proc: 126 or 159 speed
- Double DDD: 118, 151, or 184 speed
- No DDD sweet spots: 140, 160, 180
- One DDD: 136, 156, 176
Cycles roll straight through waves – no resets like Memory of Chaos. Clock never stops once it starts. Bonus: Post-cycle 2 and 4, your team’s damage ramps up. Not dominating early? At least snag that one star without total collapse.
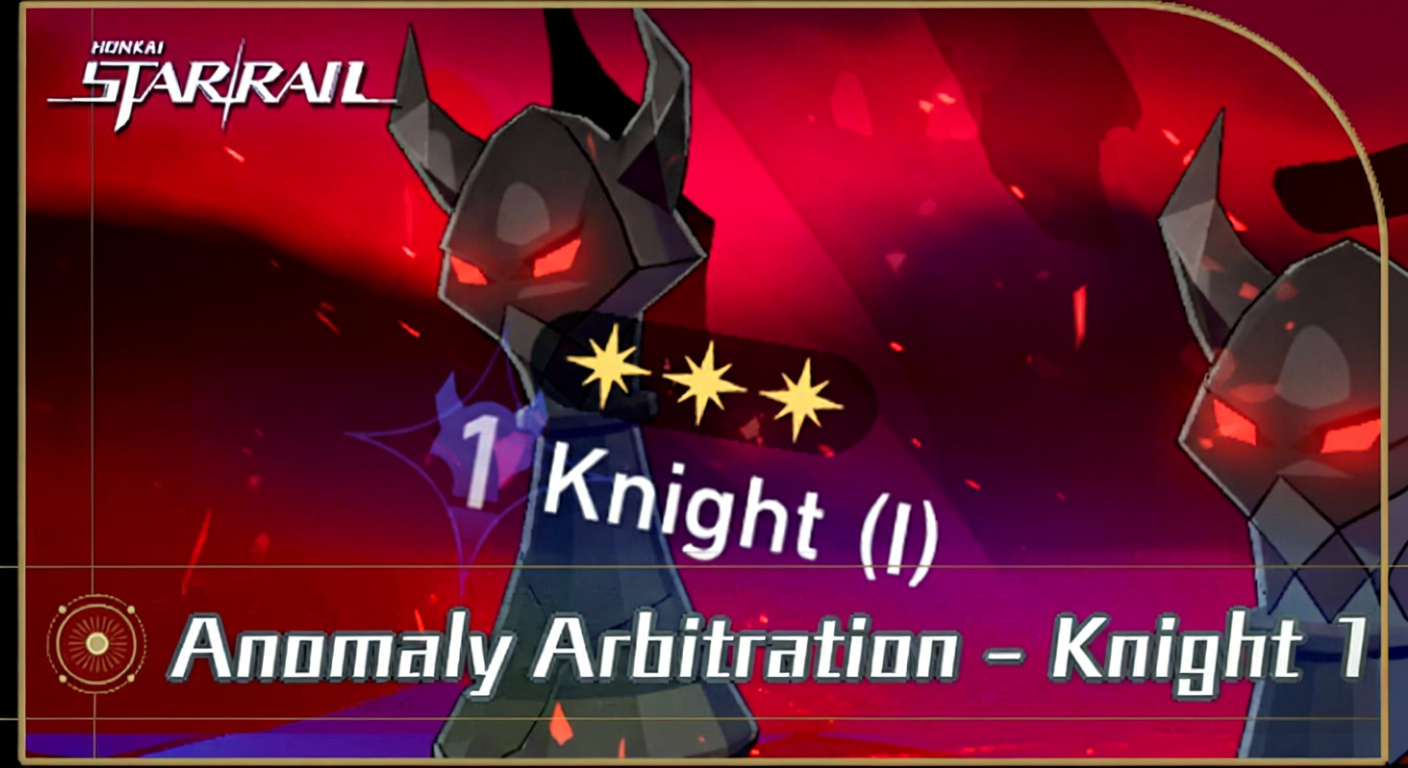
Knight I – Break or Go Home
Enemy Lineup:
- Wave 1: Howling Caskets with Aurumaton Spectral Envoys
- Wave 2: Dreamjolt Troupe’s Bubble Hounds plus the Puppet Trio
Trait shoves you into break-heavy play. No shattering those toughness bars? You’re barely scratching them. Enemy Trait: Taunting – enemies jump ahead after 6 hits (resets on their turn)
Counters hit like clockwork if you slack. Fix it by dropping them quick or packing units that eat enemy turns for breakfast.
Teams That Actually Work:
-
Firefly Superbreak Squad
 Firefly / Fugue / Harmony Trailblazer / Lingsha
- Straight fire – Firefly thrives on breaks, squad backs her all the way
-
Phainon Action-Advance Squad
- Phainon / Cyrene / Cerydra / RMC
- Phainon’s ult mode shrugs off crowd control, huge win
- Cyrene pushes turns forward against the pushback
-
Feixiao Off-Turn Damage
- Feixiao / Robin /
 Topaz / Aventurine
 - Feixiao’s follow-ups dodge the taunt pain
- Robin speeds the whole crew up


Physical and Lightning crews dominate, but Anaxa’s weakness spread opens doors if you’re scrambling.
Knight II – Energy Drain Hell (Prepare to Suffer)
This one’s the stage that has me questioning everything. Daughters of the Sea and Something Unto Death show up, but the traits are the true nightmare.
Enemy Traits:
- Interference: 5-10% action delay random after their hits
- Energy Absorption: Drop 2 energy per hit (10 back on kills)
Your rotations? Ruined. Ult-spammers choke unless you pivot hard.
The Saving Grace:
Phainon and Castorice laugh at energy loss – their kits skip the ult grind. Feixiao dodges via follow-ups too.
Recommended Teams:
-
Castorice Brute Force
- Castorice / Sunday / Robin / Aventurine
- Flood the field with damage before energy tanks you
-
Anaxa Solo Carry
- Anaxa / Cyrene / Cerydra / Lingsha
- Cerydra refuels energy, Cyrene advances turns to offset
- Anaxa handles all the heavy lifting solo
-
Feixiao Follow-Up Focus
- Feixiao / Topaz / Robin / Aventurine
- Damage skips Feixiao’s turns, delays barely sting


Premium DOT squads (Kafka + Black Swan, eidolon’d up) breeze this. Everyone else? Throw your top bench here for anything past one star.
Knight III – Invincible Mobs & Survival Checks
Waves pack Black Tide foes with a catch – most trash is untouchable till you nuke the elites.
Enemy Trait: Resilient Armor – 2 stacks start (15% damage cut each), one gone per Toughness break
Wave 2 demands the Dark Sun Gryphon (middle spot) dies first to wipe adds. Otherwise, AoE hell rains down nonstop.
Your Options:
- Vaporize elites before the swarm builds
- Stack sustain to weather the storm
Top Team Picks:
-
Superbreak Specialists
- Rappa / Fugue / Harmony Trailblazer / Lingsha
- Firefly / Fugue / Harmony Trailblazer / Gallagher
- These setups chew through armor like it’s paper
-
The Herta AoE Deletion
- The Herta / Jade / Robin / Aventurine
- Blanket AoE with sub-DPS keeps elites pinned
-
Remembrance Ice Teams
- Sunday / RMC / Robin / Huohuo
- Ice AoE grinds down packs
- Supports hold the line in the mess
- Sunday / RMC / Robin /


Fire and Ice lead the pack, but solid AoE burst or tanky crews get by.
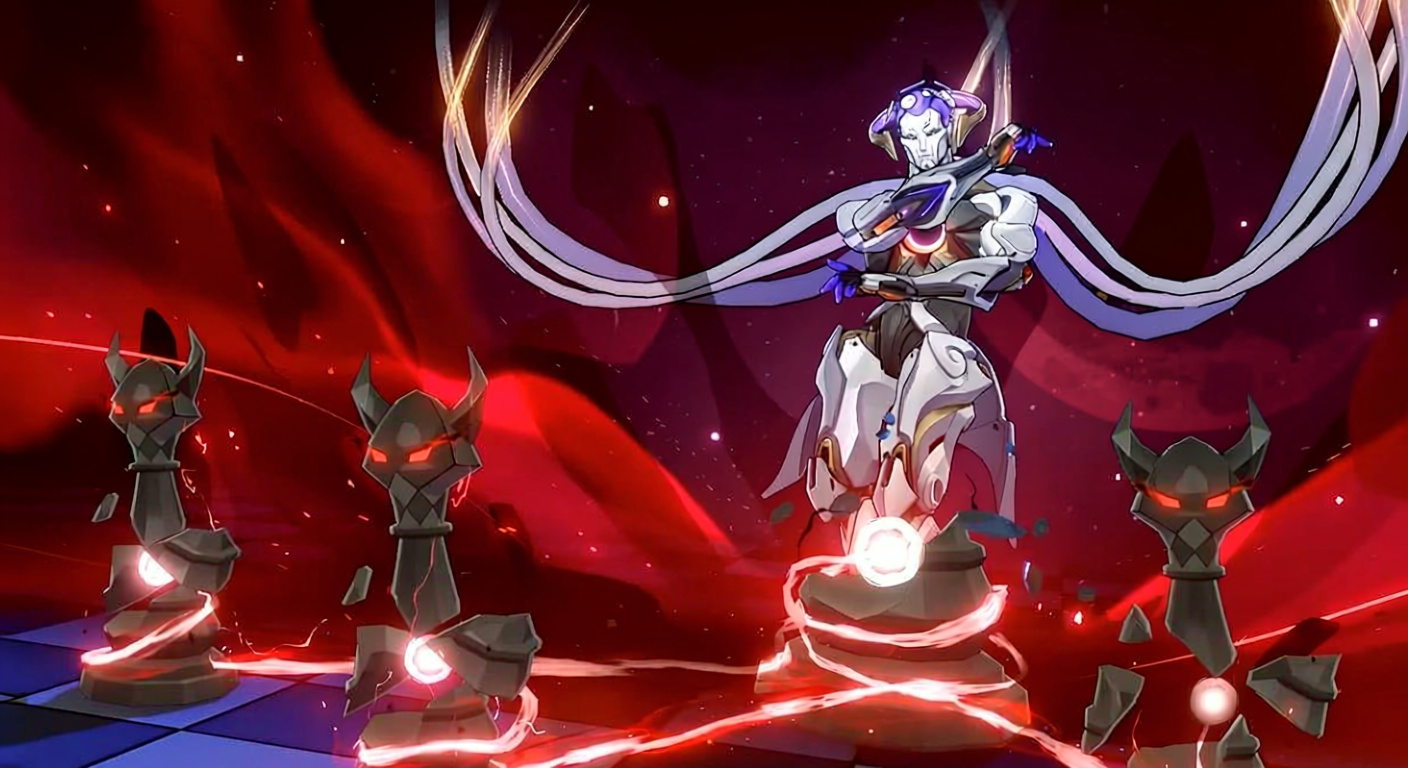
King Stage (Checkmate) – The Real Deal
All that came before? Just prep. King unleashes three phases, each flipping the script and forcing shifts.
Boss: Cosmic Avatar across 3 phases (or 5 HP bars on some versions)
Core Mechanics:
- Energy Absorption Level 2: 4 energy lost per hit (not at cap); 10 regained on kills
- Sunder Stacks: 1.6% Max HP drain per stack; infinite stacking; dispel only via teammate shields/heals
Sunder chews health in long drags. Flip side: Boss takes more damage per phase switch. Stick it out, hit harder.
Pre-Fight Buff Selection (Choose Wisely):
| Buff Choice | Effect | Best For |
|---|---|---|
| Sanguine Vitality | +50% CRIT DMG; additional Max HP bonus in final phase | CRIT-focused DPS teams |
| Power Surge | +80% Basic/Skill/Ultimate DMG; +2000 ATK in final phase | Balanced damage dealers |
| Fluid Dash | +40% DoT RES PEN; +30% SPD in final phase | DoT-centric compositions |
Sanguine Vitality for crit builds, Power Surge for all-rounders. Fluid Dash crushes if DOT’s your jam.
Team Compositions That Thrive:
-
Cyrene Action-Advance Core
- Phainon / Cyrene / Cerydra / RMC
- Castorice / Sunday / Cyrene / Huohuo
- Cyrene keeps turns rolling past the drain
-
Hyacine Sustain Priority
- The Herta / Jade / Robin / Hyacine
- Kafka / Black Swan / Robin / Hyacine
- Hyacine scrubs Sunder clean
- Shields stop the bleed cold
- The Herta / Jade / Robin /
-
DOT Supremacy
- Kafka / Black Swan / Cyrene / Huohuo
- Advances amp DOT ticks
- Passive hits ignore energy woes


RNG on “Antinomy” free ults? DPS lucks out, it’s gold. Sustain gets it? Brutal. Restart for perfection if needed.
Damage and heals scream for Hyacine – her cleanses make it smooth. Others work, but crank investment elsewhere.
Rewards – What You’re Actually Playing For

Straight talk: no Stellar Jades. Pull chasers, look away.
What lands:
Currency & Materials:
- Lone Stardust – shop fuel for exclusives
- Self-Modeling Resin – relic upgrades
- Interference Key – teaser for later stuff
Cosmetics & Limited Items:
- Avatar frames (Bronze/Silver/Gold off King stars)
- Cycle-specific frames to flaunt runs
Gift of Stardust Shop Highlights:
| Item | Cost |
|---|---|
| Complainer Pet | 1,600 Lone Stardust |
| Sweet Dreams Pajamas Pom-Pon Outfit | 800 Lone Stardust |
| AwooAwoo Avatar | 400 Lone Stardust |
| Fast & Furynuts Avatar | 400 Lone Stardust |
| Skypillar Phone Wallpaper | 400 Lone Stardust |
| Tears of Dreams (10x set) | 200 Lone Stardust |
No jade grind shifts it to prestige hunt – feels optional, not forced.
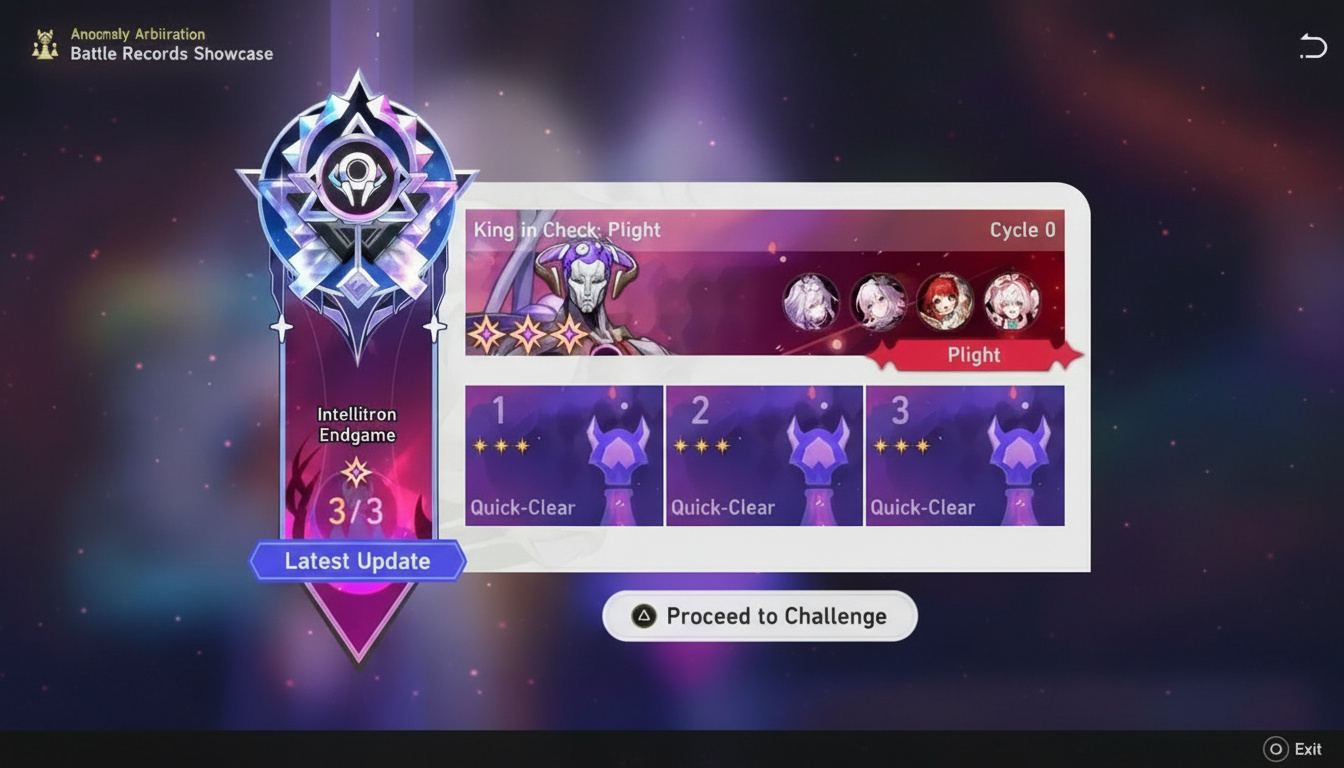
Star Requirements & What They Mean
Knight Stages:
- 1 Star: Clear in 6 cycles, no KOs
- 2 Stars: 4 cycles
- 3 Stars: 2 cycles
King/Checkmate Stage:
- 1 Star: 6 cycles
- 2 Stars: 4 cycles
- 3 Stars: 2 cycles
Three Knight stars net Lone Stardust. King gives dice at one star – casuals get scraps too. Tiers let you dip in easy. One star all around? Doable. Three-star hunts? Grind city.
Character Investment Reality Check
Harsh truth: vertical investment rules here. Spreading thin helps, but power spikes win.
E2 Acheron squads shred what budget runs crawl through. Hypercarries with sig LCs and tuned relics? Untouchable.
F2P shut out? Nah – but dial back dreams. One star’s fair game; three stars needs skill, gear, or wallet.
Budget wins exist, but they demand action value mastery, god-roll subs, and RNG prayers.
Version Updates & Rotation
Resets hit every six weeks, Wednesday post-patch. New foes, traits, curves each time.
Take 3.7: Knight I turned crowd-control nightmare but stayed simplest. Knight II kept the investment wall with delays and drains. Checkmate boss to Aquilla, whole new headaches.
Keeps it fresh – master one, next throws curveballs.
Strategic Tips from the Trenches
- Pick your ace for King first. Backfill Knights by threat level.
- Knight II chews low-investment accounts most. If that’s you, slot your runner-up there over hoarding for endgame.
- Sustain matters: Hyacine, Aventurine, Lingsha turn dicey runs steady.
Speed Tuning Actually Matters:
Breakpoints aren’t optional. Double DPS moves in cycle one? Two vs three stars.
Character Overlap Rules:
Swap LCs/relics between Knights? Records wipe. Gear distinct squads or redo stages.
King’s wide open – pull Knight chars back. Weaker Knight III team? Fine if they fuel the boss kill.
Is It Worth Your Time?
If jades are your god, bail – time sink beats other farms.
But for real tests, team tweaks, and flex cosmetics? Peak content.
Each reset hooks me – dissecting patterns, plotting counters, even smashing controller on bad luck.
Permanent run means no rush. Build slow, hit when geared.
Final Thoughts
Anomaly Arbitration skips the crowd – it’s for endgame diehards craving real pushback. And that’s a breath of fresh air.
Not everything needs jade dumps. Sometimes conquering the tough stuff is the payoff – adapting, tuning, winning ugly fights.
Chasing Gold frames or just checking builds? Pin this. It’ll guide rotations as you sharpen up.
Hit the board, topple those Knights. King down? Beats any jade haul.