Ruins Exploration: Fieldwise Center hit Sumeru in the Luna II update, dropping new mini-games that actually stick – and Mechanical Puzzle-Parsing Paradigm? It’s the head-scratcher that’s got folks hooked. Teaming up with Faruzan, you steer these cute Puzzlepals through tougher and tougher obstacle runs by dropping Miraculous Effects orbs. It starts off straightforward, but try it and you’ll see. Your little buddy chugs along on its own, so you tweak the world around it – slapping down buffs, lifting platforms, icing over water. Reminds me of rigging those old marble mazes, only you’re tweaking the path as it rolls.
How to Access the Event
Finish the Return from the Mysterious Realm quest first (that’s Act 1). Then knock out the Fieldwise Mastery, Unyielding Progress! bit – and you’re set.

It kicked off November 7, 2026 stages rolling out over time:
- Stages I & II – right from the start
- Stages III & IV – November 9
- Stages V & VI – November 11
Missed the launch? No big deal; everything’s right here. Pin this guide and hit the levels when you’re ready.
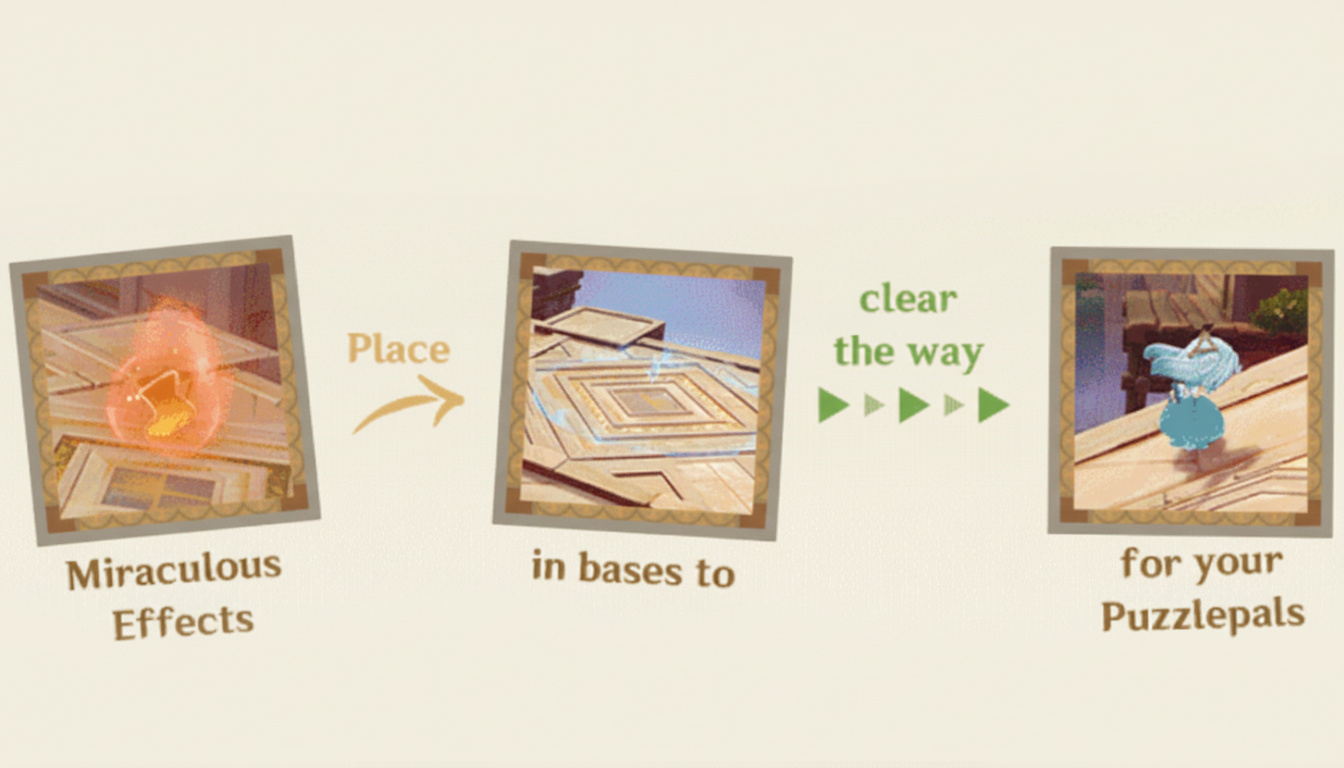
Core Mechanics & Miraculous Effects
This is where it clicks. You don’t puppeteer the Puzzlepal directly – you slot in four Miraculous Effects:
- Miraculous Rise (Green Orb) – sends your pal soaring; bumps up two-level platforms by one. Nails those “no way to get up there” spots.
- Miraculous Speed (Orange Orb) – cranks up the pace for a quick burst, turning your Puzzlepal into a blur. Key for nailing jumps on the fly.
- Miraculous Freeze (White Orb) – locks water into ice paths for a bit, letting you cross without swimming. Beats waiting for a hydro character.
- Miraculous Immovability (Yellow Orb) – blocks wind from shoving your pal around; pulls two-level platforms down a notch if you stick it on one.
Stack them on nearby bases and watch the sparks fly – Speed feeding into Rise? That momentum launches way higher. Trial and error reveals the hidden tricks.
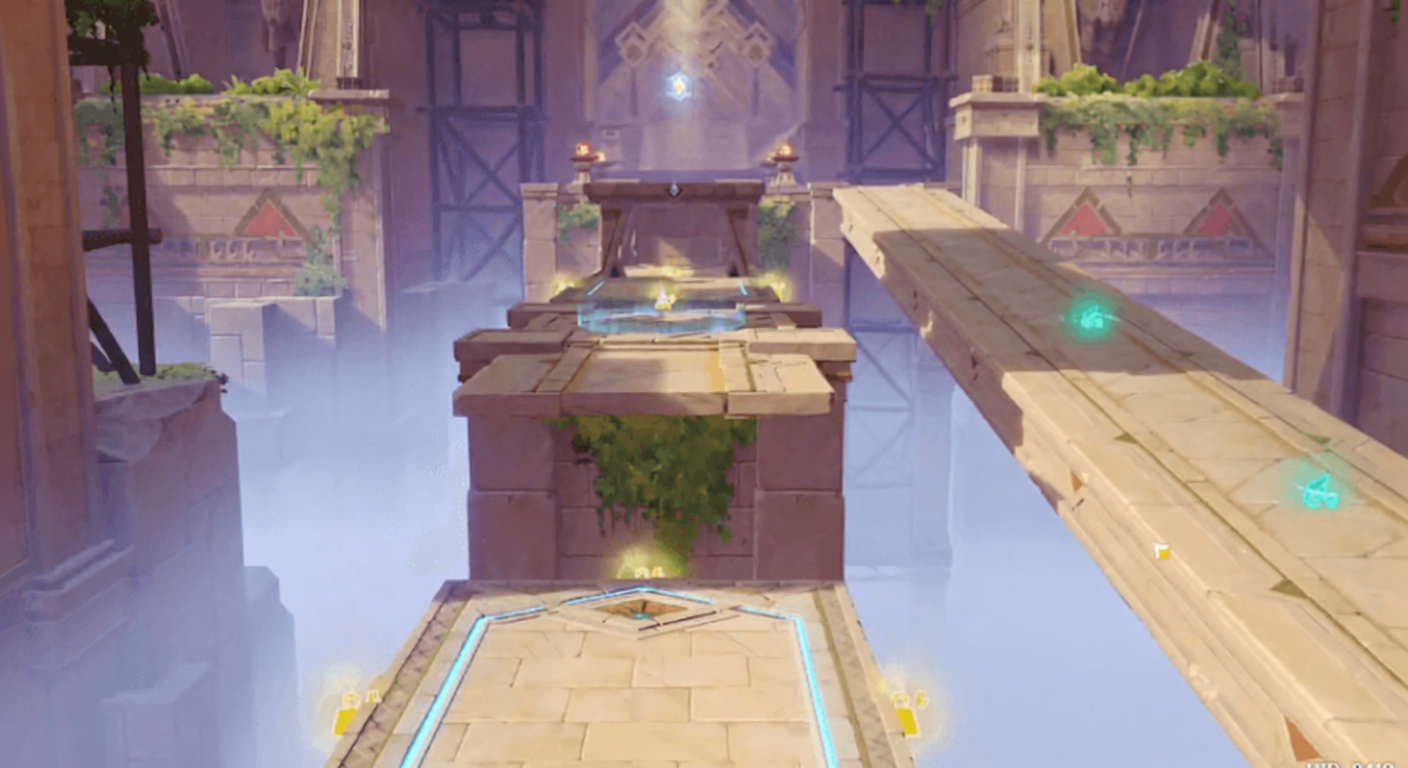
Stage I: Speed, Altitude, and Arc
First one’s a soft intro to the basics – but snag that Puzzle Star Badge hovering over the track or you’ll kick yourself.
Setup Strategy
- Base one (pre-ramp) – Miraculous Speed Orange Orb. Gives enough push to vault the gap instead of dropping short.
- Base two (post-ramp) – Miraculous Rise Green Orb. Hoists your pal past the jutting ledge in the way.
- Bases three and four – combo time: Speed on three, Rise on four. That speed buildup powers a massive leap off the green, right into the Puzzle Star Badge.
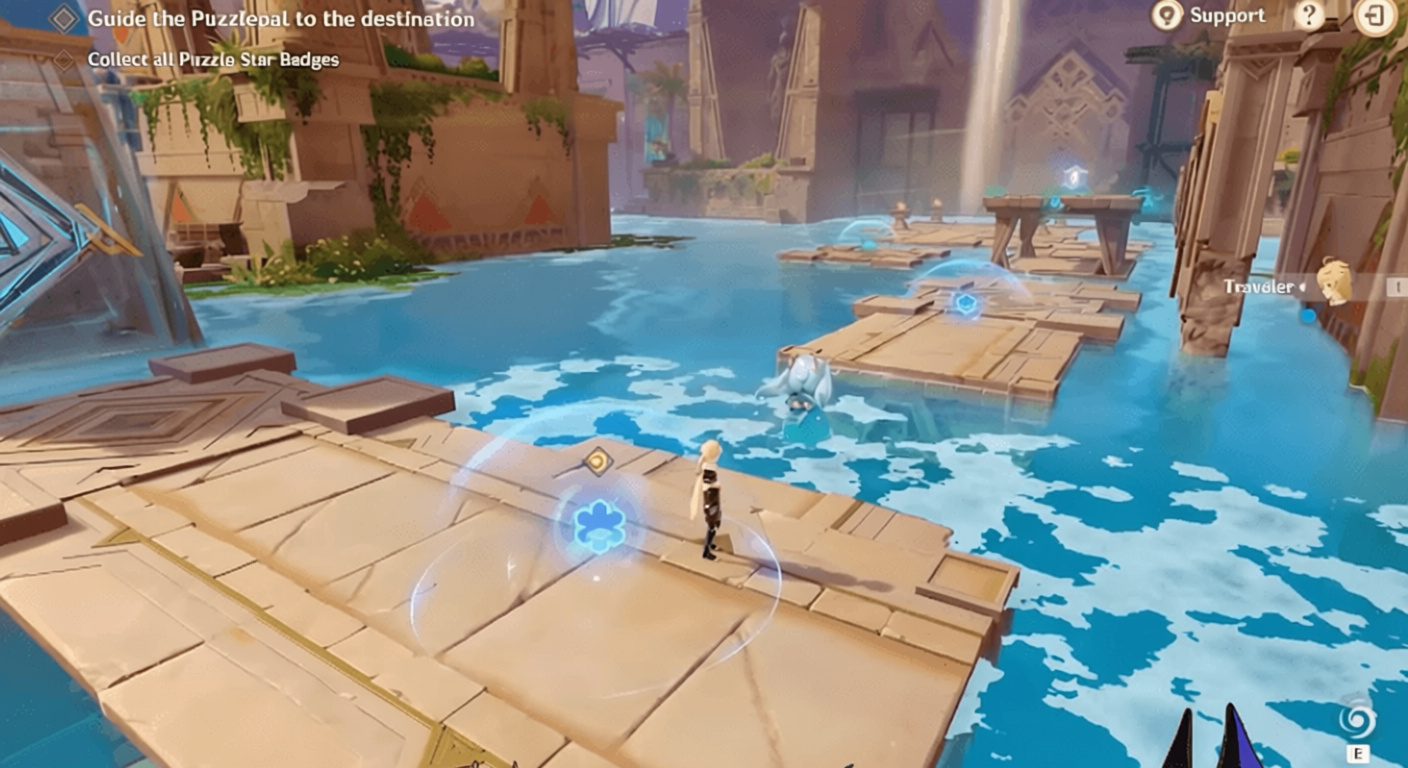
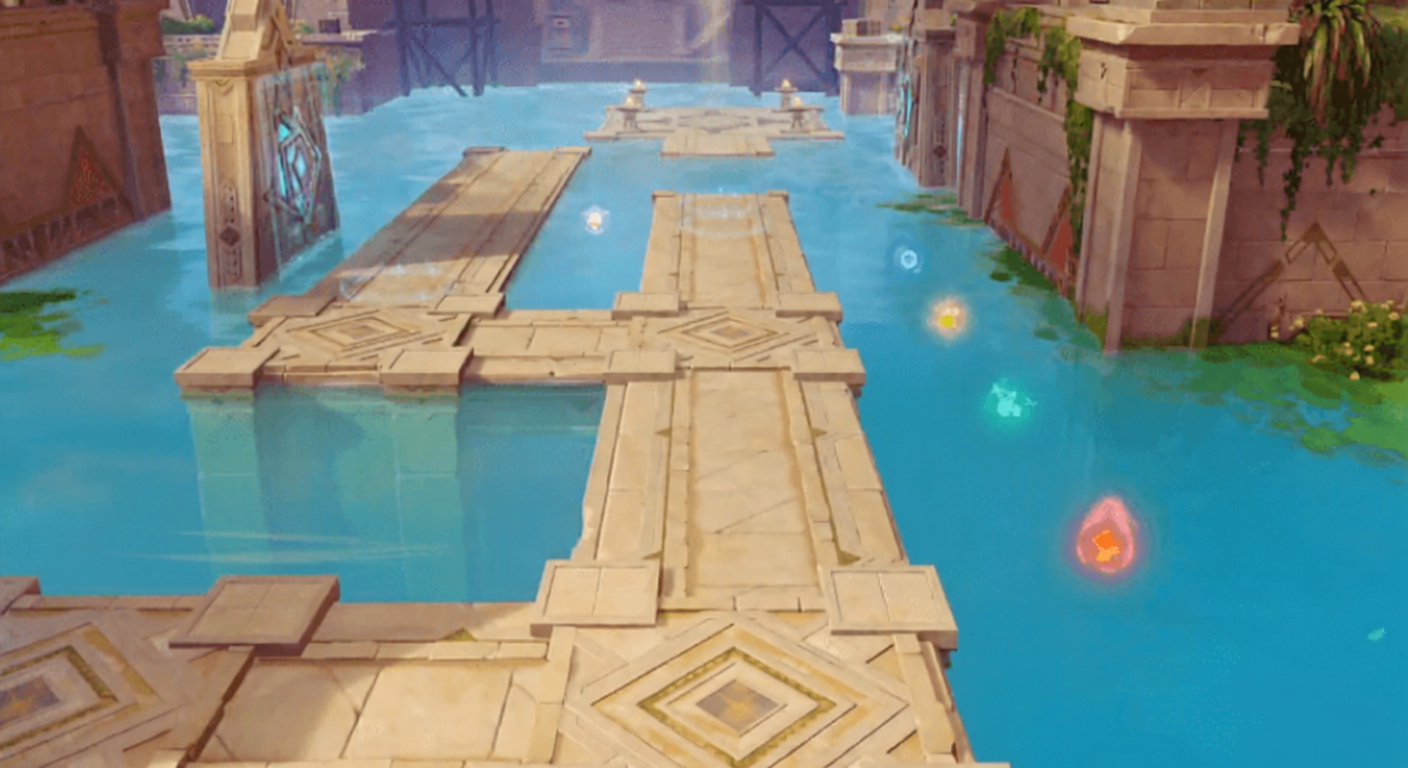
Stage II: Walking on the Water
Water’s everywhere here, so juggling Freeze orbs and shifting platforms keeps you on your toes.
Walkthrough Breakdown
- Snag the starting Miraculous Freeze White Orb and stick it on the right base at spawn. Trail your Puzzlepal over the iced path – hang back too far and you’ll botch the next steps.
- Next spot, grab the extra Freeze orb and drop it on the high platform under the Puzzle Star Badge. It sinks level with everything else.
- Swing left to the lone platform for a Miraculous Rise Green Orb. Hit bases two and three with it – your pal curves wide around the giant fan in the center, scooping the badge clean.
- Tough bit? Keeping the ice solid while shuffling orbs. Botch the pace and your pal’s splashing down for good.
Stage III: Using Lifts as Stepping Stones
Shifting into orb-swapping chaos. Dynamic lifts and split-second moves weed out the button-mashers from real solvers.
Step-by-Step Execution
- Toss a Miraculous Immovability Yellow Orb into slot one as bait. Park yourself on the right mid-path – overlook the whole mess from there.
- Slot two gets the Miraculous Rise Green Orb, then yank the Yellow from a lift and shift it to the course’s first lift.
- Reflex test incoming: Hover that green orb. Let your Puzzlepal hit a platform, boost it up quick with Green, pull it away, then slide Rise to the end lift. Nail the beat and the Puzzle Star Badge’s yours – flub it and down goes your pal.
Stick central; wild camera swings wreck your aim.
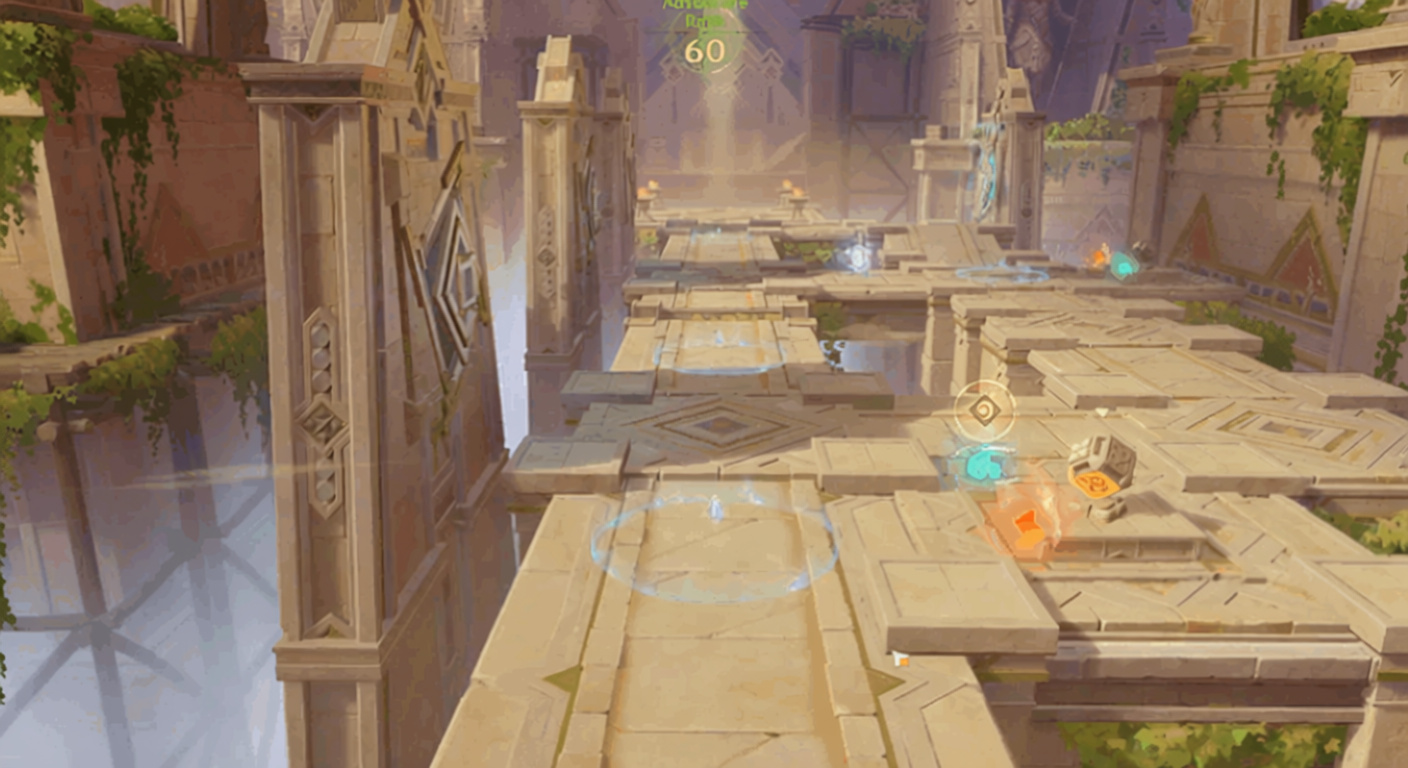
Stage IV: Miraculous Planning
True to the name, plot ahead or watch it crumble. Multiple orbs in play while your pal blasts forward.
Tactical Arrangement
- Opening stretch – Miraculous Immovability Yellow Orb plus Miraculous Freeze White Orb. Eye that Freeze; you’re moving it soon.
- End stretch – Miraculous Speed Red Orb into Miraculous Rise Green Orb. Powers the killer final vault.
- Mid-run clutch: Puzzlepal hits Freeze and skates water? Snatch it fast, replant before the turbine. Lands the Puzzle Star Badge without losing steam.
Lag a beat and fans yeet your pal off track.
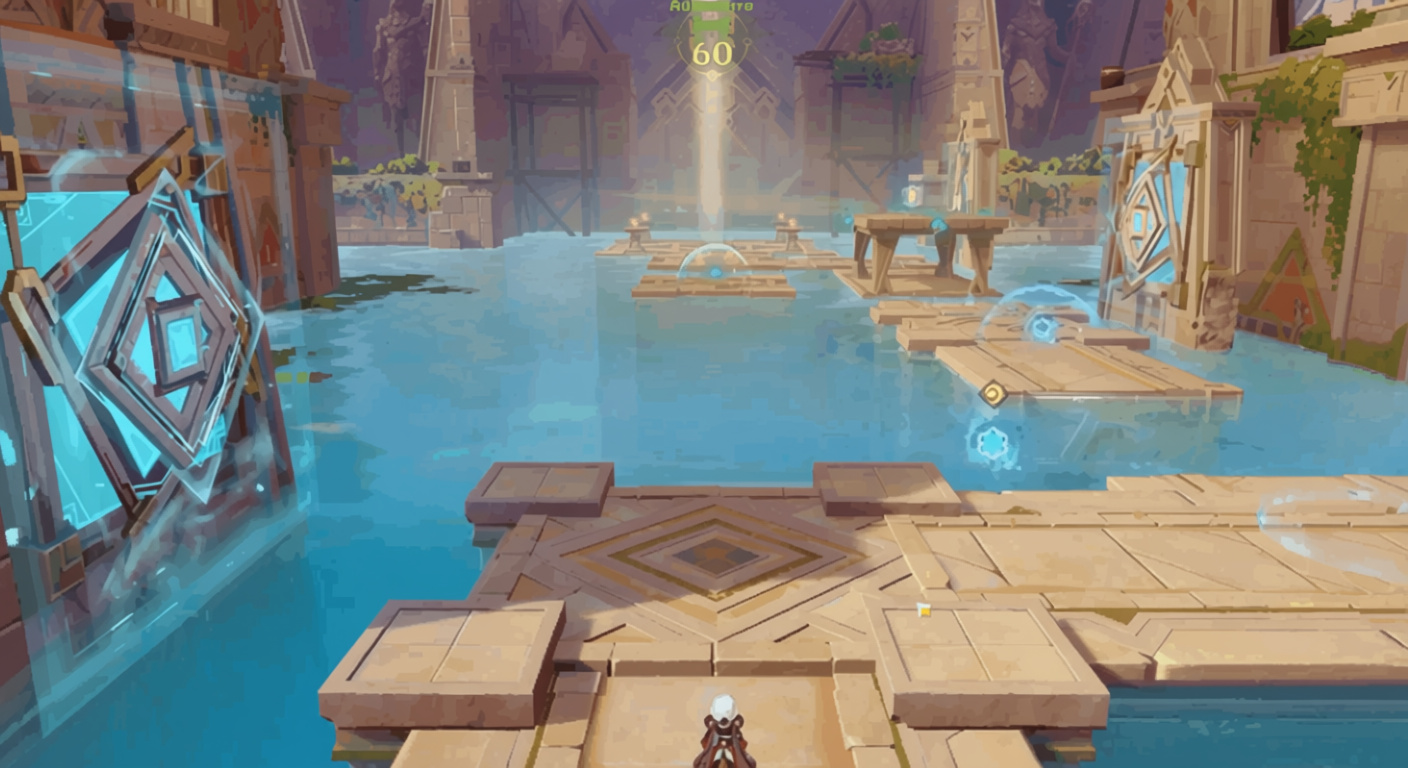
Stage V: Timing Makes Perfect
Name says it all – grab a timer. Drifting platforms, orb flips, and razor-edge calls ramp the stress.
Execution Blueprint
- Yank Miraculous Immovability Yellow Orb from base one to base two. Root yourself map-center by the orange and green orbs – sightlines save runs.
- Base three (glow before the drifter) – Miraculous Speed Orange Orb. No speed, no boarding.
- Snatch Miraculous Rise Green Orb and hold – timing’s everything. Puzzlepal touches the floater? Flip Green for the Yellow on that platform.
- Cap it with Yellow Orb on base four (post-drifter).
That exchange? Ruthless. Early swap misses the lift; late one kills the flow. Drill the wait-swap-check cycle.
Stage VI: To Wind or Not to Wind
Endgame adds switches – now you’re flipping hazards on the fly as your pal pushes through.
Complete Solution Path
First switch: Miraculous Speed Orange Orb on base one, Miraculous Rise Green Orb on base two.
Northeast to second switch, Orange Speed on base three (map’s right edge). Back to switch one – brace for flips.
Switch Sequence
- Flip on before first Orange
- Off right after it tags the orb
- On post-Green jump
- On again at map’s right
Screw the order and winds ragdoll your pal like bad physics. Feels clunky at first, but two tries and it flows.
Rewards Breakdown
Two goals per stage, payouts split:
| Objective Type | Reward Package |
|---|---|
| Complete the Challenge | 30 Primogems  + 40 Prep Progress + 40 Prep Progress  + 8 Additional Items + 8 Additional Items  |
| Collect All Puzzle Star Badges | 30 Primogems  + 30,000 Mora + 30,000 Mora  + 2 Enhancement Materials + 2 Enhancement Materials  |
Times six? 360 Primogems, fat Mora piles, and Prep Progress for the shop. Solid haul – pulls you in deeper than just skimming.
![]()
Badges lock those extras; skip ’em and you’re shortchanging yourself big time.
Pro Tips & Common Mistakes

- Scout the Run – let one full loop play out pre-orbs. Lifts cycle predictably; map that and skips the rage quits.
- Orb Yanks – pull ’em free anytime. Stuck in a bad spot? Redistribute mid-chaos.
- Neighbor Combos – Speed-Rise cranks jumps via buildup; Freeze-Immovability walls off wind traps.
- View Switches – Pull back for layout, zoom in for tweaks. Broad for setup, tight for beats.
- Respawn Flow – Pals keep coming. One flop? Next one’s up quick – no full resets.
Most wipes? Slapping orbs blind. That initial cliff dive? Teaches fast. Second pal runs smoother – till you loop the error, which we all do.
Mechanical Puzzle-Parsing Paradigm nails that mix of chill auto-movement and real headwork. Starts easy to hook you, ramps to multi-task madness. Blasted through all six in about 45 minutes, fiddling included – pros could halve it easy. No forced dailies; levels stick around post-drop; stash this guide for orb spots or switch rhythms whenever.