If you’re still lobbing smokes at random and praying for a decent block, we gotta sort that out. I’ve sunk countless hours into CS2 comp, scraping together every reliable utility nugget, and shaped it into something that’ll flip your grenade game on its head.
Pin this page down – no joke – it’s packed with the lineups, moves, and edges that pull their weight in live rounds.
Understanding Your Arsenal (And Why Price Matters)
Let’s cut to the chase on your loadout before hitting those setups. Every nade’s got its edge, and picking right keeps your wallet from bleeding out.
- Smoke Grenades ($300) – These handle map denial like nothing else. They drop an 18-second vision blocker, and heads up: just one per round max. That cloud doesn’t only hide lines; it boxes enemies into waiting around, charging blind, or dumping their own utility to bust through.

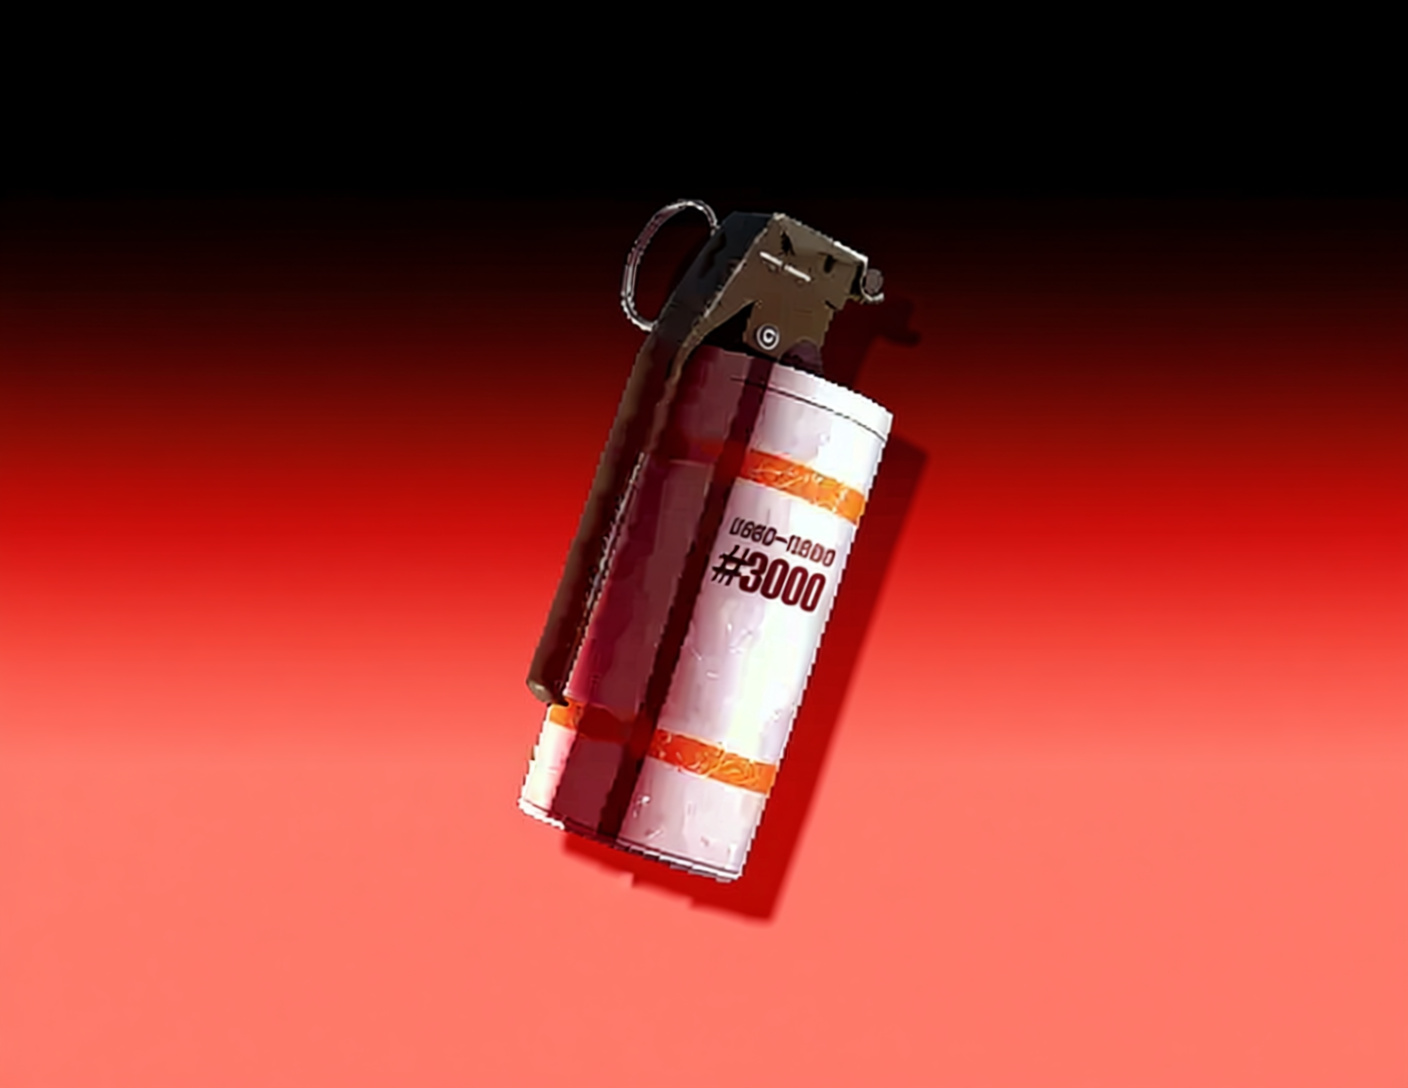
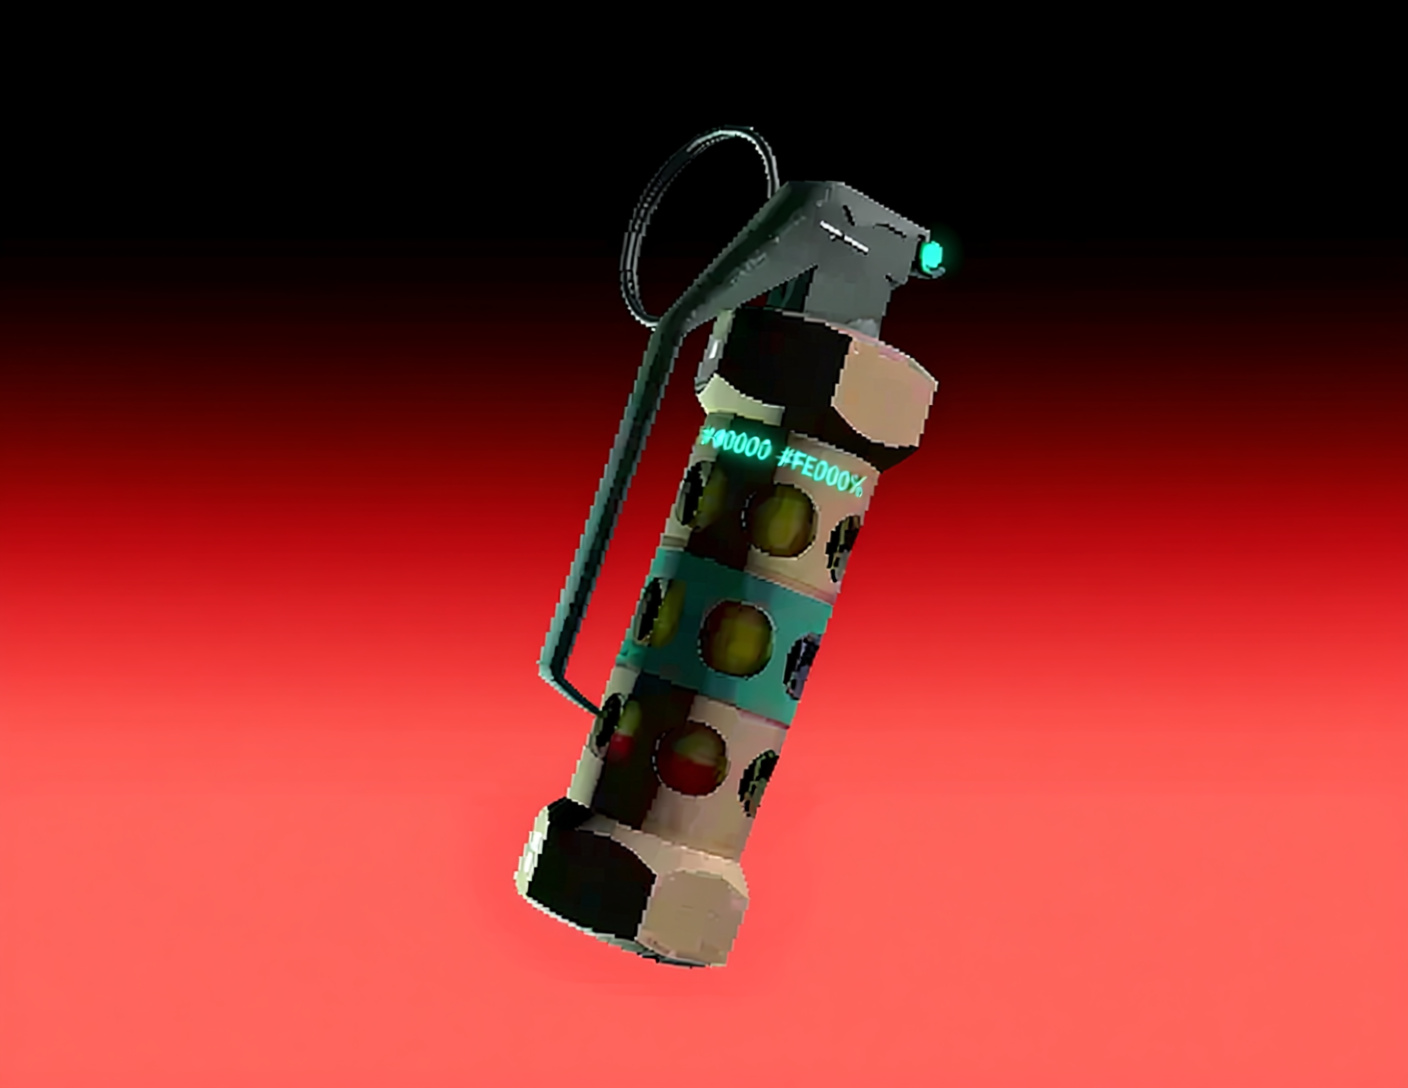
- Flashbangs ($200) – Stack as many as you want, turning them into total wildcards. Nail the timing, and they flood views with blinding white while killing sound – straight chaos when it pops off.
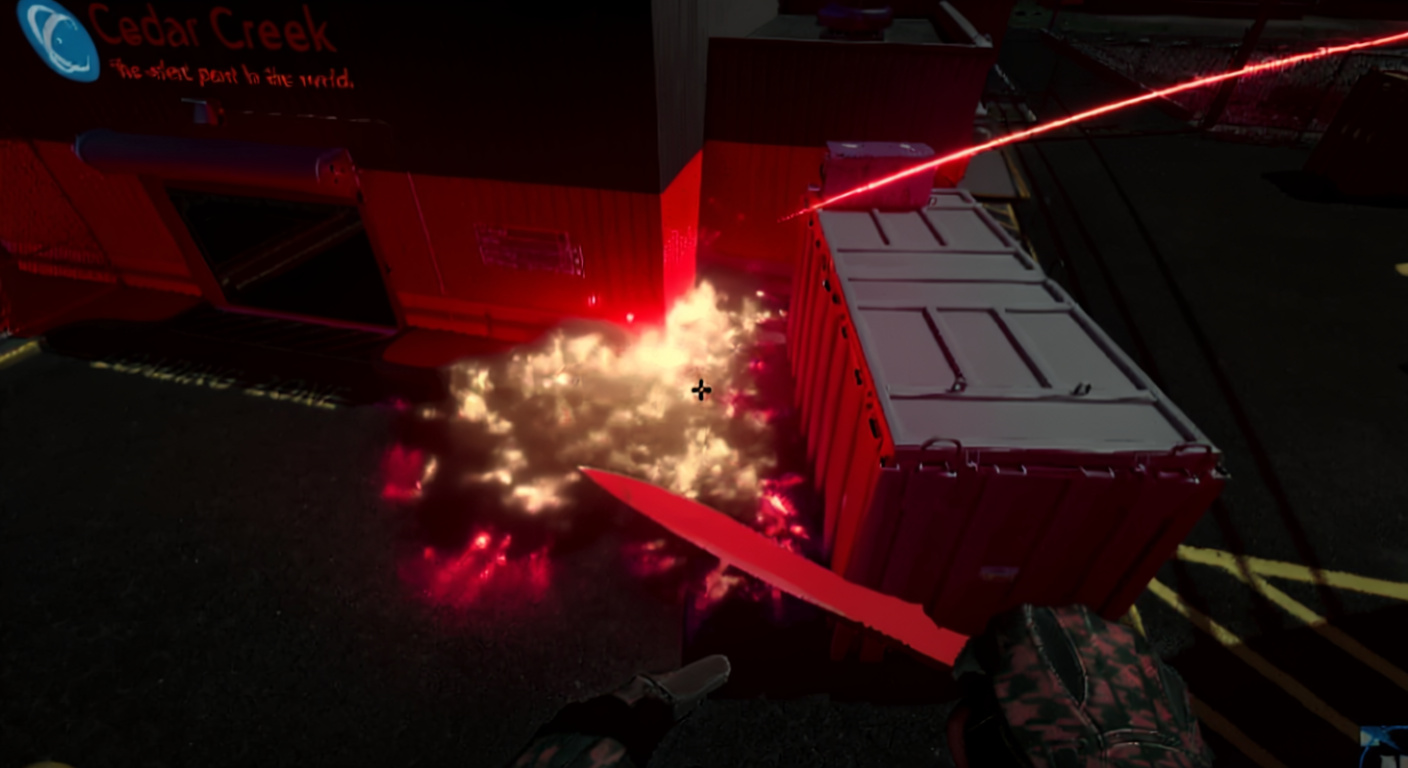
- HE Grenades ($300) – These hit hard, dishing 98 damage to no-armor foes (down to 57 with plates). The twist in CS2? They punch holes in smokes for quick sight glimpses.
- Molotovs/Incendiaries ($400 for T-side, $600 for CT) – CTs feel that price hike. They burn for roughly 7 seconds, damage building from light taps to 40 HP a tick by the end. Layer a few with the squad, and you’ve locked down chunks of the map cold.
- Decoy Grenades ($50) – Cheap trick everyone overlooks. Fakes gun noise for 15 seconds and can throw off enemy spots if you time it sharp.
Essential Practice Setup (Copy-Paste This Now)
`sv_cheats 1; sv_infinite_ammo 1; mp_startmoney 99999; mp_buytime 99999; mp_buy_anywhere 1; ammo_grenade_limit_total 5; mp_warmup_end; mp_freezetime 0; sv_grenade_trajectory_prac_pipreview 1; sv_grenade_trajectory_prac_trailtime 10;`Endless throws, stretched rounds (add
mp_roundtime_defuse 60for a solid hour), plus arc previews. Nails those finicky spots without the frustration.`bind KEY "ent_fire smokegrenade_projectile kill; ent_fire molotov_projectile kill; stopsound"`Wipes smokes and fires instantly, skipping the downtime between tries.
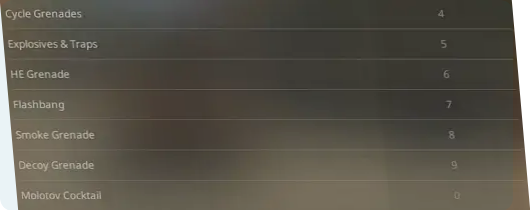
Quick-Access Binds (Stop Using Mouse Wheel)
Scrolling for nades? You’re slowing yourself down bad. Go solo keys:
bind z "use weapon_flashbang"bind x "use weapon_smokegrenade"bind c "use weapon_hegrenade"bind v "use weapon_molotov;use weapon_incgrenade"
Trim a half-second off the draw, and suddenly you’re landing utility before they react.
Dust2 Utility Mastery
Mid Control (T-Side)
- Basic Mid Smoke – Match the lineup edge, drop crosshair on that dot. Standard left-click jump throw sticks it clean. No fuss, dead reliable – your mid lifeline.
- Halfway Molly – Same spot, climb the ledge, lock the upper mark, W + left-click jump throw. Shuts down CT eco rushes right in the middle.
- Suicide Drop Smoke – Hit the low dot, pull back a step, sight the mark, charge ahead on throw. Locks mid tight, zero CT eyes through.
- Precise Top Doors Smoke – Shift position, target the exact dot, left-click toss. Sits perfect on mid doors, tough to crack.
Long A Utility
- Corner Smoke – Set at the guide point, crosshair dead on, basic left-click. Cuts early peeks from site cold.
- Long Flash – Wall align, plain left-click throw. Bursts where they’re posted up.
- CT Cross Smoke (Deep Version) – Stand tall, aim high mark, left-click send. Risky play for site depth – but winning those initial scraps seals the round.
- Car Molly – Lock that mark tight. Torches elevator and box hides, scrambling defenders every time.
- Non-Team Flash – Reuse the molly spot for a flash toss. Hits key holds without dazzling your crew advancing long.
Catwalk and B Site
- Cat Running Jump Flash – Shadow and window as cues, running jump throw. Blinds all cat watchers – sync with entry guys for pure gold.
- Cat Molly – Canopy mark in sights, release on running jump. Fries those sniper nests on the ledge.
- B Smokes Package – Pick based on start:
- Big mark to bottom dot, jump throws seal doors and window
- Spawn run needs wide strafe to metal sheet, then loose aim on running jump – quick but needs distance
- Mid-to-B Clean Smoke – Crouch Xbox rear, crosshair dot, jump throw. Drops into CT seamless – must for smooth plays.
Mirage Quick Hits
- Window Smoke – T spawn by trash, hold D, roof chunk in view, jump throw. Locks in so tight after reps, you could nail it blind.
- Stairs and Jungle Set – Needs a buddy. Smoke corner first, then dot aim with middle-click jump for stairs. Snag the next smoke, shift target, left-click for jungle. Duo throws like this steal games.
- Connector Smoke – Crouch trash top (hold it), rug-wall join as guide, jump throw crouched. Feels off at start, but wires in deep.
Nuke Outside Control
- Vent Lurk Smoke – Smash windows, corner with twin black dots, jump throw out the break. Sets up vent sneaks that punk rotators hard.
- Outside Smoke Sets – Options stack up:
- Meadow with drop assist, W-tap jump
- Truck-box pair for secret cross, team sync key
Inferno Core Setups
- Arch Smoke – Mid window left, roof angle lock, left-click. Mailbox close-up alt hits too.
- Moto Smoke – Orange wall back, brick line spot, jump throw. Chops rotation lanes short.
- CT Smoke (B-Side) – Gas left, roof corner aim, left-click. B push staple.
- Coffin Smoke – T arrow stain up, jump throw. Wipes boost top clean.
- Arch Wrap Smoke – Post-arch fade (watch clock), corner set, regular jump bounces to Moto/CT for follow pushes.
Ancient Essentials
- House Smoke – Spawn pillar left, brick cue, nudge right, jump throw. A denial base.
- Cave Smoke (Cheetah) – Rock top, white smear under, jump throw. Plugs Cave/Cheetah dead.
- A CT Smoke – A main outer, square inner aim, jump throw. Back it with default box molly for site clamp.
- Donut Smoke – Column heart, X spot, gap above aim, jump throw. Odd tag, huge block.
- Short Smoke – Handle center pose, plant leaf tip over, left-click. Short paths gone.
Anubis and Train Highlights
Anubis
- House Smoke – Door cubby start, roof corner, jump throw. Lantern-side molly pairs for total grip.
- EBox Smoke – Phone roof jut, left-click jump. Blankets ebox/dark full.
Train
- Camera Smoke – Pole front stain, roof corner, left-click jump.
- Sandwich Smoke – Free pole spawn, stain cue, jump throw.
- Ramp Smoke – Corner lock, cracked walk target, left-click.
- Z Smoke – AC center upper holes, glass bottom left, jump throw. Hits Z tight, no overkill flood – spot-on needed.
Advanced Techniques Nobody Talks About
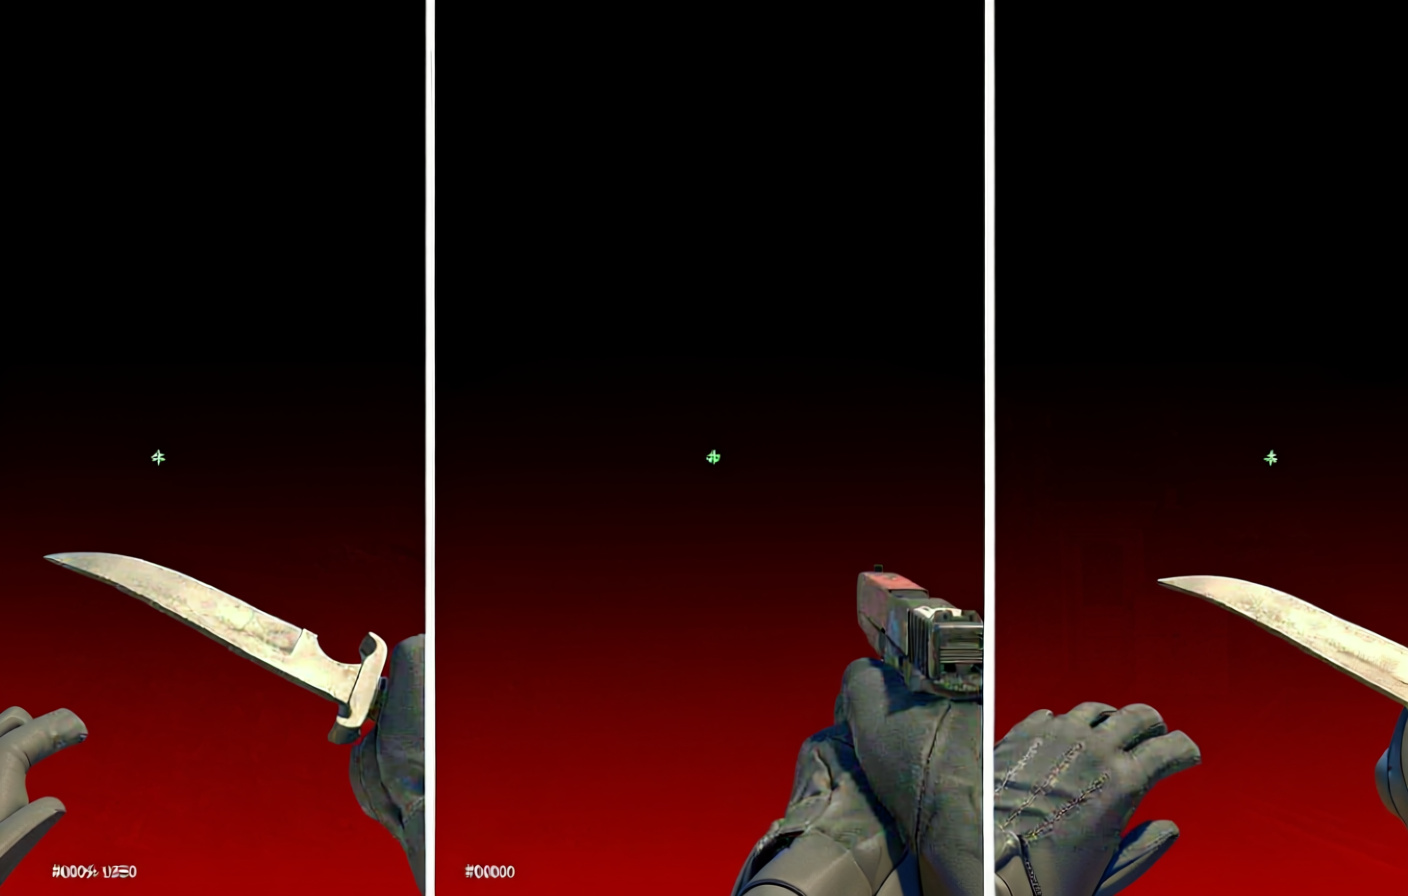
- Silent Right-Click Flash – Right-hold the flash, left-tap release. Drops without ground ping. Crushes pop-flashes through clouds or quiet HE smoke breaks.
- Defuse Wire Trick – Defuse tap, then eye a close prop. Hides the wire line, tough for distant spots.
- Graffiti Timer – Plant spray shows ~43-second clock for bomb tick without UI glance.
- Quick Utility Chaining – Smart binds or key spots chain flashes rapid. Throw gaps shrink huge with clean swaps.
Economy Management for Utility
Players botch this all the time – loss streak bonuses:
- Kicks at $1,400 straight loss
- +$500 per round
- Tops $3,400
Before that rifle splurge, think: “Full kit – molly, flash, smoke – fit my spot?” Support or anti-rush roles? Utility loadout trumps Famas-to-M4 jumps.
Movement Tricks for Better Utility Usage
- Silent Ladder Climbing – Dual keys (W+D or W+A), gaze away. Rockets up ladders fast. Top swipe mounts quick.
- Jump Peek Accuracy – Crouch-uncrouch jump peak for full accuracy on peeks. Odd feel, spotless results.
- Jiggle Before Commitment – Quick jiggle peek baits, resets their spray. Then push for swaps while they adjust.
Post-Plant Situations
- Smoke Defuse Psychology – Bomb tap first, scan foes on smoke defuse try. Draws spam, grabs kills pre-pull.
- Retake Smoke Usage – Retake smokes the plant. Drags CT spots out or blocks defuse sight instant.
Map-Specific Quick Reference
Dust2
CT Side: Long A blocks stall T; B car fire stops charges
T Side: Mid flashes/smokes own it; B splits via CT smoke and mid pop
Inferno
CT Side: Balcony block slows A; banana fire drags B
T Side: Arch/library flashes and clouds take it; B coffin plus CT spawn for runs
Mirage
CT Side: Ramp and palace clouds hold A; apartments fire holds B
T Side: A splits with clouds/flashes team-timed; window cloud and mid pop for B
Overpass
CT Side: Long cloud and fountain fire for A; toxic barrel fire and short cloud for B
T Side: A site clouds/flashes for takes; B close clears with fires
Nuke
CT Side: Outside cloud grips A; ramp fire checks B
T Side: Mini and heaven clouds for A; ramp fires and pops for B hold
Training Routine That Actually Works
Hit 15-30 minutes a day on targeted throws. Skip the overload – grab 3-4 core clouds per map, grind till instinct. Gains hit fast.
Fire sv_grenade_trajectory_prac_pipreview 1 and sv_grenade_trajectory_prac_trailtime 10 for arc views. Traces teach the curve quicker than guesswork.
Utility Combinations Worth Memorizing
Drill “cloud-flash-fire” chains for hot zones. Ancient A example: house cloud leads, box-bank fire next, flash close after settle. Builds control step by step, not scattershot mess.
Team Coordination Essentials
Standard calls kill mix-ups – “stairs cloud” flops if they hear connector. Lock lingo pre-game.
Run duo utility drills: one clouds, one pops. Sync timing opens doors solo stuff can’t touch.
Final Thoughts
Truth is, fumbling 50 setups loses to owning 20 cold. Nail cores for your go-to maps, build out later. These pulls cover 90% of comp needs.
Pulled it all here so no hopping videos, forums, or streams. Practice, pin, check pre-queue.
Your fires scorch right, pops blind sharp, clouds drop exact. Knowledge locked – grind the reps, make it reflex.