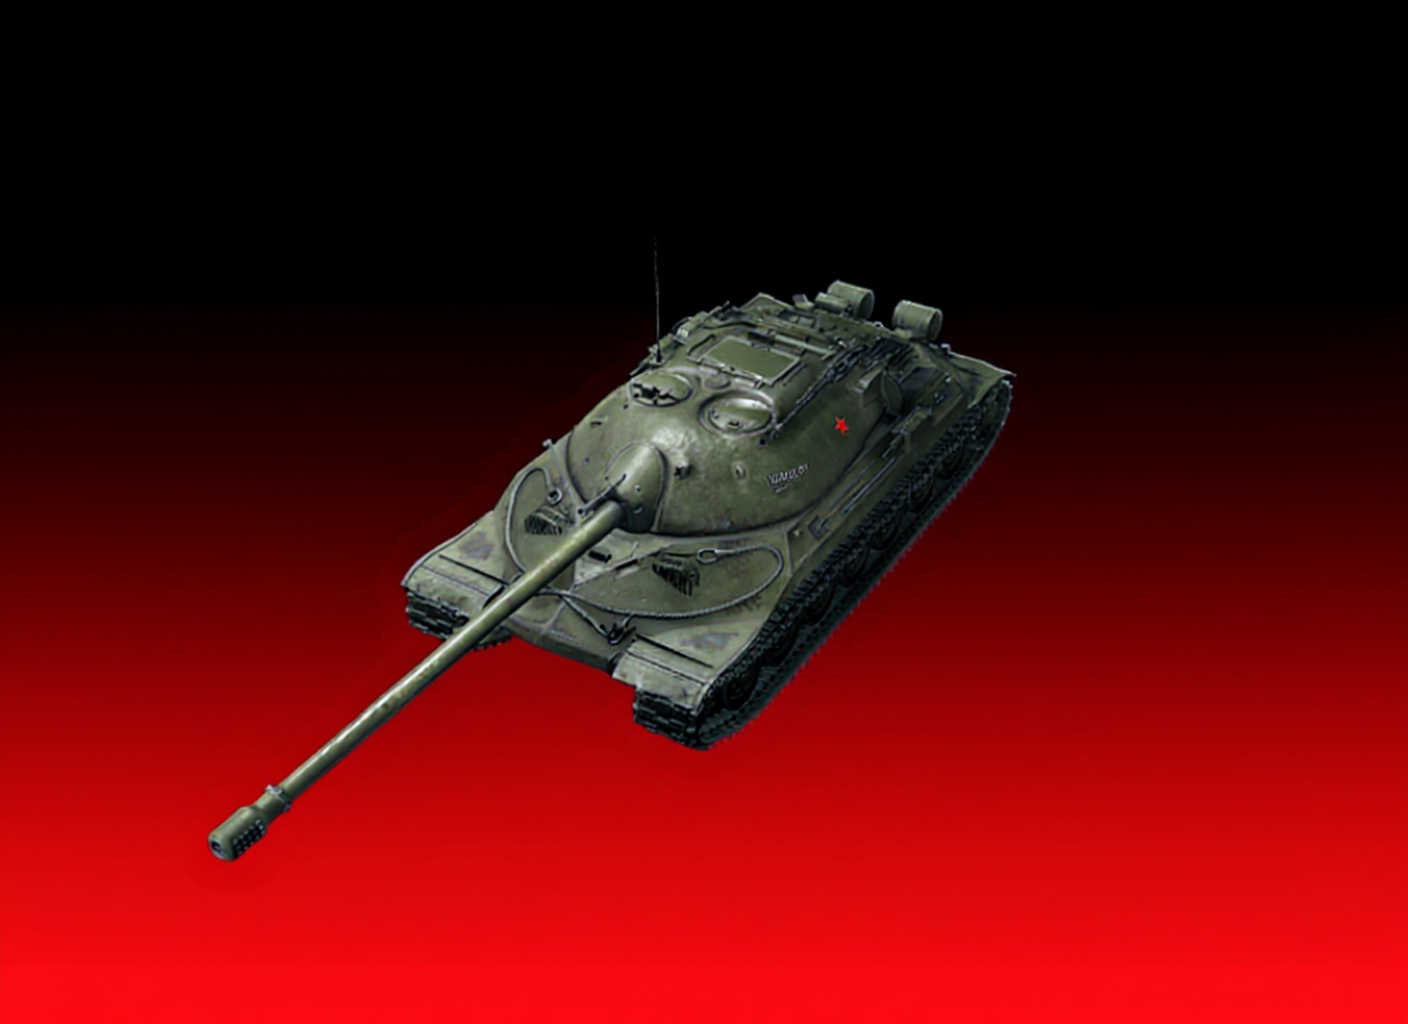
Tier 11 tanks in World of Tanks hit like a wall of pure headache most days, but the KR-1 flips that script entirely. This Soviet beast follows straight from the IS-7 grind and lands as the top pick for dipping your toes into endgame heavies. It nails that sweet spot of speed, tough plating, and a ramming setup so over-the-top it turns scraps into total wipeouts.
What Makes KR-1 Actually Special
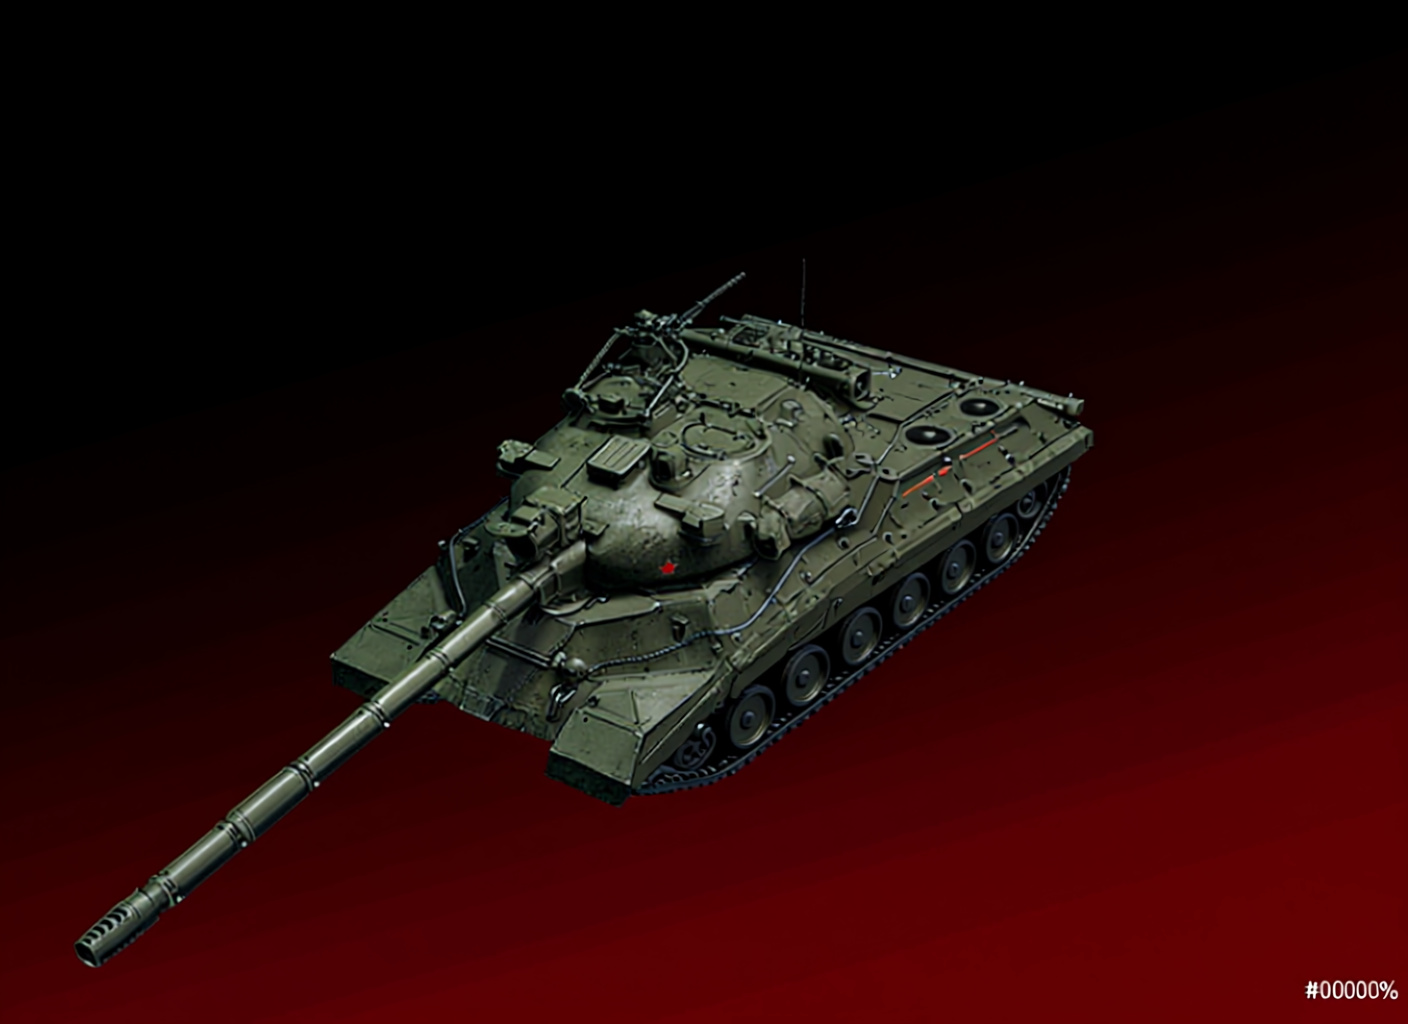

The workshop leader Dzin-Klatz (wrong reference – this is a tank, not a character) would probably approve of this engineering marvel. Unlike typical heavies that lock you into one stiff playstyle, the KR-1 hands you options without overwhelming the basics.
Core statistics breakdown:
- Hit Points: 2,600 base (pushes to 2,800 with hardening equipment)
- Alpha damage: 530-540 depending on configuration
- Penetration: 268mm standard / 325mm HEAT rounds
- Gun depression: 7 degrees – absolutely critical for ridge warfare
- Mobility: 60 km/h forward, 15 km/h reverse
- View range: 400 meters
That one extra degree over the IS-7 unlocks ridges you’d otherwise bail on. Keep your lower plate tucked away and still snap off shots from high ground – the IS-7 just stares jealously.
The Ramming Configuration – Pure Chaos Energy

This is where it goes full madhouse. The KR-1’s trick bumps +60% ramming damage dealt and +20% suspension damage resistance. In plain terms, your 80-ton ride smashes foes flat and shrugs off the crash like nothing happened.
Tests on the field show 2,000+ damage rams straight into IS-7 fronts. Everyday bumps pull 500+ easy, making every bump a kill shot waiting to happen.
Slap on a turbocharger, beefed-up gear, and controlled impact, and you’re not just shooting – you’re a rolling threat that ends fights by showing up.
Firepower – Not Amazing But Enough
The 136mm won’t top DPM charts – sits around 2,300 base per minute, maybe 2,500 tuned up. Solidly average for Tier 11, nothing to brag about.
However:
- 0.3 accuracy keeps hits landing where they should
- 2.68-second aim time snaps back quick
- 700 alpha HE shells exist for lightly-armored targets
- HEAT rounds with 325mm penetration handle most situations
Reload drags at 13.42 seconds, which stings until you’re too busy plowing into enemies to notice. It backs up your pushes while the hull steals the show.
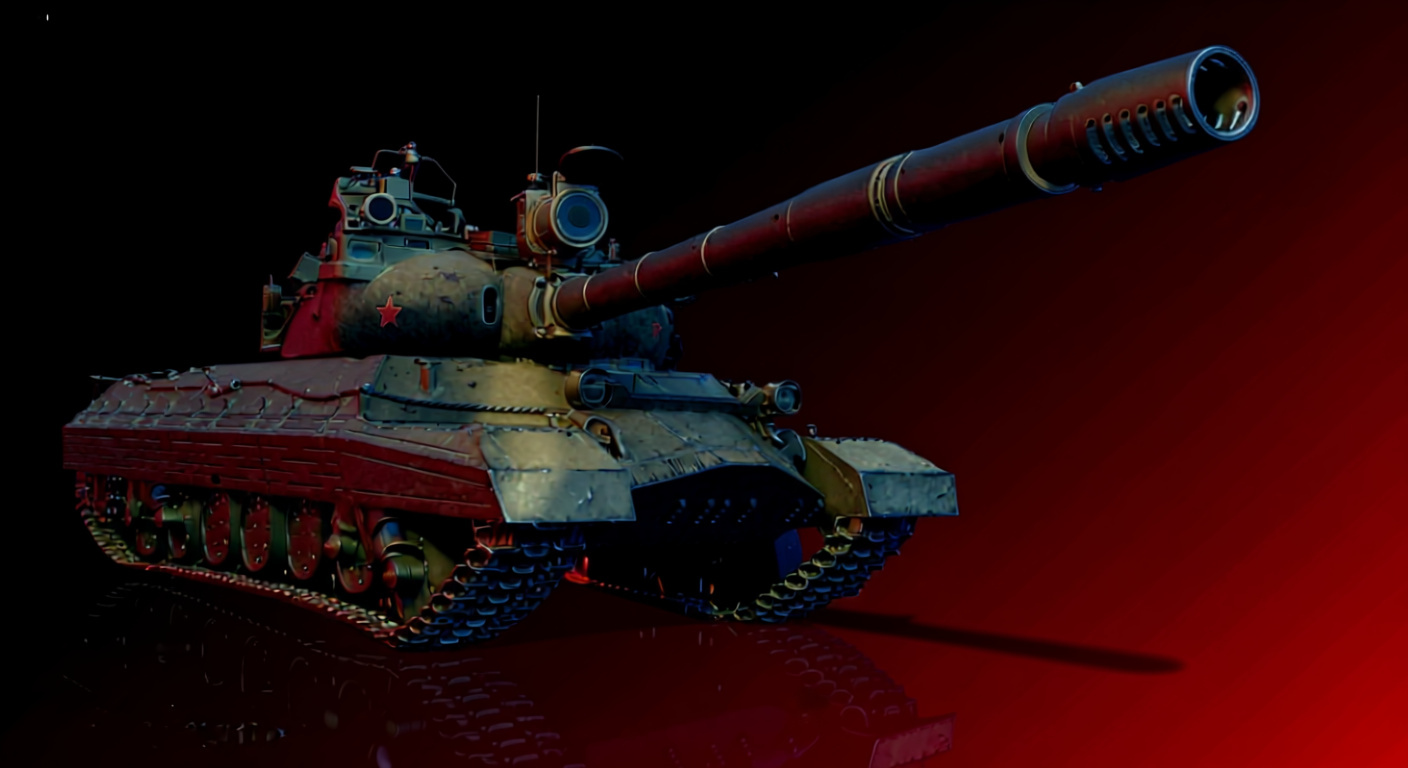
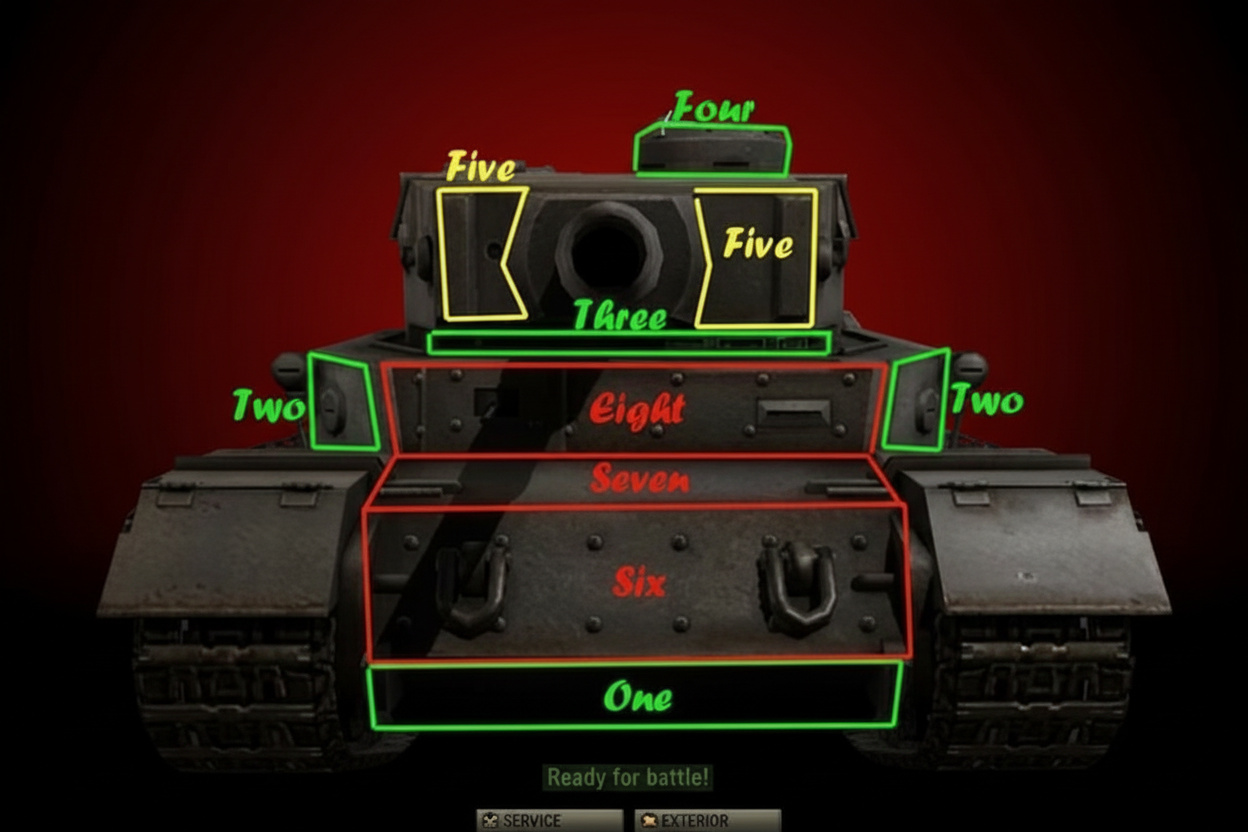
Armor Profile – Surprisingly Forgiving

Up front, the plating holds real weight. Upper plate laughs off stock shots; lower needs 260-270mm to crack – premium ammo or bust.
Weak spots exist:
- Cupola (requires 320mm+ penetration – good luck)
- Track wheels (around 250mm needed)
- Side armor when not angled (110-120mm zones)
Turret hits 390mm up front, 210mm sides. Hull-down, you’re a brick wall unless they pack 330mm+.
That 2,600 HP buffer eats errors alive – plating that lets newbies survive their own bold moves.
Equipment Loadouts – Two Philosophies
General brawling setup:
- Enhanced equipment (hardening) – survivability boost
- Turbocharger – mobility advantage
- Gun rammer – faster reloads
This mix covers the map solid, tackles whatever comes up.
Ramming-focused chaos setup:
- Turbocharger – maximum speed
- Enhanced equipment – HP and ram protection
- High-performance tracks (improved grousers) – terrain handling
Toss in a turbo directive, fuel over medkits, and suddenly your heavy corners like a medium but crushes like a runaway semi.
Crew Skills – Maximize Your Edge
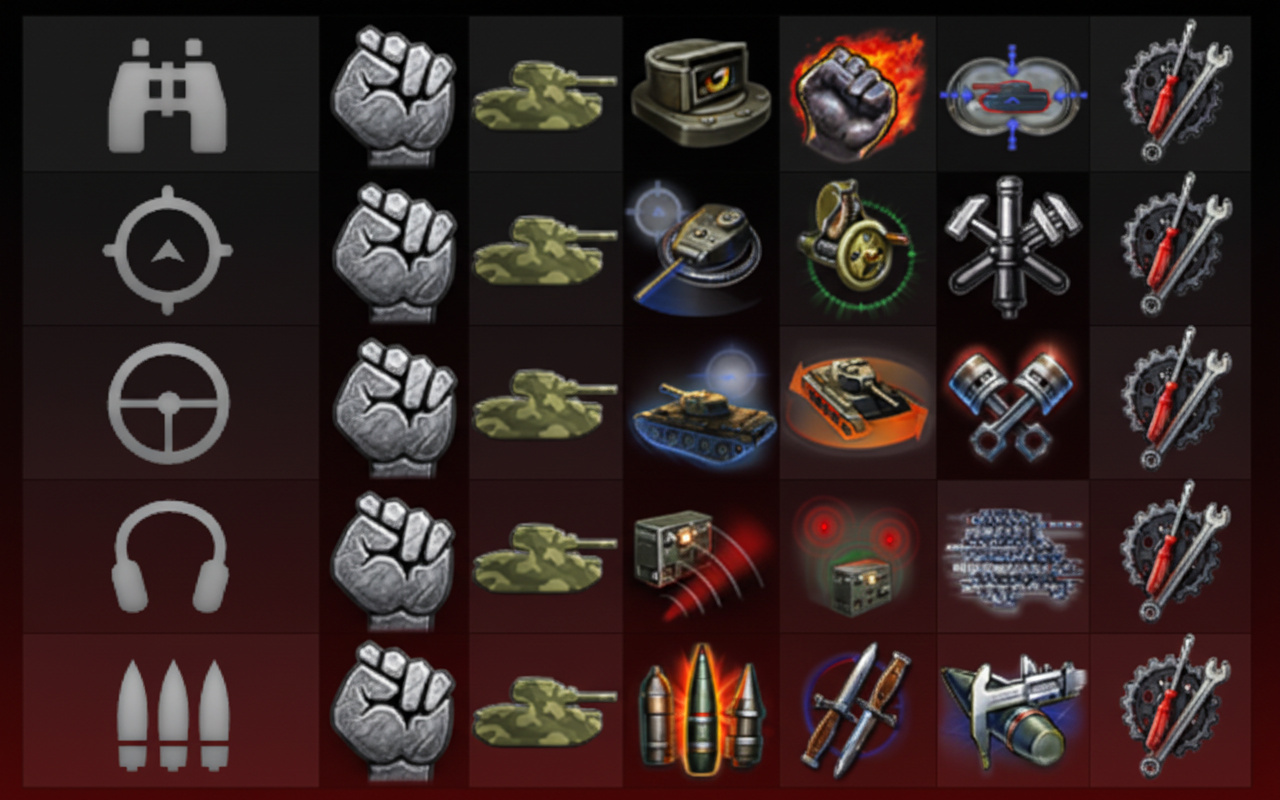
Commander: Brothers in Arms, Recon, Emergency Repair, Coordination (Mentor if running ram build)

Gunner: Snap Shot, Deadeye, Armorer, Designated Target

Driver: Controlled Impact (mandatory for ramming), Off-Road Driving, Clutch Braking, Smooth Ride

Loader: Safe Stowage, Intuition, Adrenaline Rush

Radio Operator: Situational Awareness, Firefighting
Controlled Impact on the driver? No debate – turns rams from dice roll to sure thing. Off-road keeps you zipping over rough stuff, key when you’re always shifting spots.
Battlefield Performance – Numbers Don’t Lie

Matches tell the real story:
- 15,190 damage recorded in single match (probably record territory)
- 10,000+ damage games happen regularly for competent players
- 5,600 blocked damage common when hull-down
- First-time players reporting 7,000-10,000 damage initial games
These rolls aren’t flukes – play to its kit, and it delivers big every time. Armor plus speed and those rams open doors to fat numbers no matter the setup.
Positioning Strategy – Where KR-1 Thrives
- Early game: Grab ridges fast before crossfires lock in. That 7-degree drop crowns you on high spots.
- Mid game: Dive into city fights hard. Ram whatever pokes close; your health and plating trade blows without folding.
- Late game: Swing between weak flanks with your speed. Stay moving – heavies this quick outpace the slugs.
Avoid:
- Long-range sniping duels (accuracy and DPM suffer)
- Open-field charges without cover (you’re tough, not immortal)
- Passive play (wastes your ramming potential)
Comparison – KR-1 vs Other Tier 11 Heavies
- Against Tashan Rata: Matching toughness, but you swap some hull strength for way better speed and ram power.
- Against KL-1: Their front edges yours a touch; your turret and depression own ridges better.
- Against everything else: You dominate scraps with that mix of plating, health, and smash damage.
What sets it apart? Other Tier 11s need pinpoint skills or niches; this one cuts slack for slips while pushing bold plays.
Cost Analysis – Worth the Investment?
Requirements:
- 7,400,000 credits purchase price
- 325,000 XP unlock cost (grinding IS-7 line)
Bonds from special modes chip away at the grind. You pocket premium cash mid-game, easing the credit hit.
For the punch and simplicity? Hell yes. Make this your Tier 11 starter unless you’ve got a wild reason not to.
Common Mistakes – What Not To Do
- Playing passively: Rams and plating scream for pushes. Hanging back throws away your edge.
- Ignoring equipment setup: Skip hardening or crew tweaks, and you’re neutered. Gear up right.
- Tunnel vision on ramming: Rams wreck, sure – but the gun’s no slouch. Blend ’em.
- Poor angle management: Sides melt if you stretch too far. Even brawls need smart footing.
- Fighting at range: Medium shots work, but snipers eat you alive. Push in close.
Playing passively and ignoring equipment are the fastest ways to neuter the KR-1; it demands active engagement to shine.
Why Community Calls It “Busted”
Players straight-up label the KR-1 “OP as f*ck” and “absolutely busted” – understatement of the year.
The combination breaks conventional balance:
Speed of faster heavies + armor of slower super-heavies + ramming damage of specialized vehicles + beginner-friendly mechanics + strong gun depression = something that probably shouldn't exist in one package.
Nerf talks simmer, but nothing yet. Ride this wave – tanks this forgiving and stacked usually catch a nerf hammer down the line.
Final Verdict – Should You Get KR-1?

Stepping into Tier 11? Grab it now. First unlock hands down, barring some quirky style lock-in.
Perfect for:
- Aggressive players
- Beginners learning Tier 11
- Anyone who enjoys ramming
- Heavies enthusiasts wanting mobility
- Players who value versatility
Skip if:
- You demand highest possible DPM
- Prefer pure long-range combat
- Hate close-quarters brawling
- Already committed to different Tier 11 line
It lives up to the hype – Soviet plating roots mixed with speed and a ram gimmick that shakes up every fight. Even rough rounds stay fun when you’re one-crash deletes on scouts. I’ve pulled all the essentials here – pin this for Tier 11 scattershot info. The KR-1 smooths the endgame jump like nothing else, fitting comp and chill sessions without needing flawless hands.