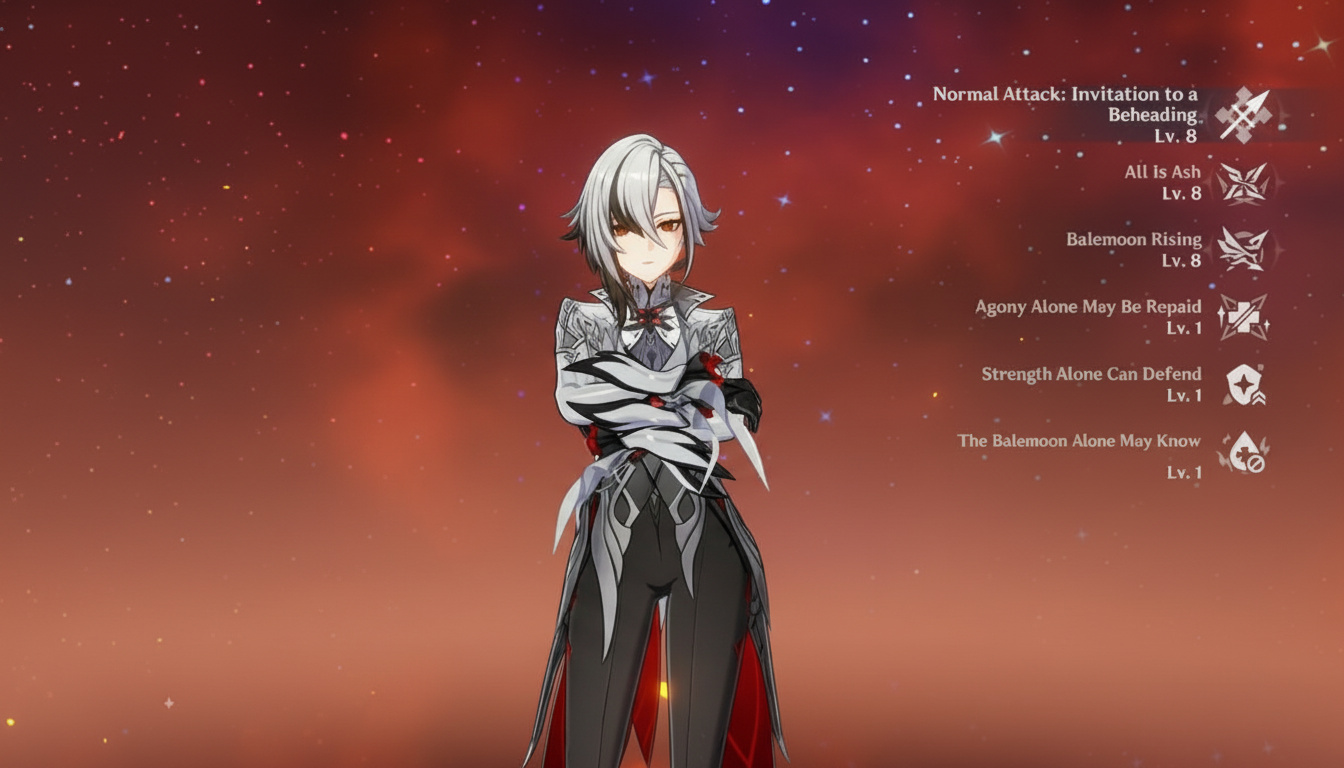
Arlecchino drops into Genshin Impact and turns fights upside down – those pyro explosions hit like a truck, her damage pops off the screen in huge chunks, and her whole setup forces you to rethink how you handle DPS roles. This five-star polearm user rolls with a mechanic called Bond of Life that weeds out casual tries from players who actually get her flow.
The Fourth Harbinger slams out raw pyro hits via normal attacks, all while riding this health gimmick that seems scary until you nail the timing and start pulling crazy damage. I’ll walk you through turning her into a beast that cranks out 2.4 million in one clean rotation.
Understanding Her Core Mechanics
Bond of Life goes way beyond a random HoYoverse trick. Fire off her elemental skill All Is Ash, and she slaps Blood-Debt Directives on enemies – those red X marks hovering over them. Hit a charged attack to eat those marks, and you snag Bond of Life worth 65% of your max HP per one. The real kick hits when Bond climbs to 30% or more of max HP. She flips into Masque of the Red Death mode, where every normal attack switches to pyro and scales huge off her ATK plus whatever Bond she’s packing. Those boosted normals chew through 7.5% of the Bond each time and shave 0.8 seconds off her skill cooldown. Wait five seconds, and basic Directives level up to Blood-Debt Dues – fatter marks that dump 130% max HP into Bond on consume. Kill a marked foe, and you pocket that same 130% haul. But heads up: in the 35 seconds after skill use, you’re capped at 145% max HP total Bond from Directives. Pop the skill again to wipe the slate and restart the cap. Her burst Balemoon Rising pulls double duty as a heal and reset tool. It sucks up all nearby marks, blasts AoE pyro, wipes her skill cooldown, and patches her up based on the Bond it absorbed plus 150% of her ATK. The heal math shakes out to 150% of absorbed Bond added to 150% of her ATK.
Harsh truth: with Bond active, no teammate heals land on her in fights. Outside sources just scrub the Bond clean, dropping Masque and tanking your output. Burst ends up your go-to for staying alive when things get rough.
Talent Priority & Investment Path
Pump normal attacks to max – no room for argument. Everything she does hinges on those pyro-charged swings in Masque. Skill next, since it handles Bond stacking and mark placement. Burst trails because you lean on it more for heals and resets than straight damage. Stats shift with your squad, but solid targets run like this:
- ATK landing 2000-2500 (push higher if you can)
- Crit balance sticking to 1:2 – think 70-80% rate against 140-160% damage
- EM at 100-200 for vape or melt runs
- ER tweaks by pyro count in the team
ER breaks down solo pyro at 150%; two pyros drop it to 140%; three pyros hit 120%; overload squads scrape by at 100-110%. These shift with cons, Favonius on allies, and if you’re bursting every cycle or saving it for clutch moments.
Best Artifact Builds
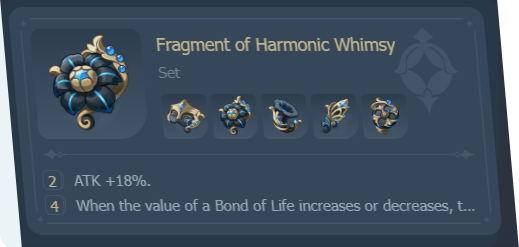
Fragment of Harmonic Whimsy owns the slot – it’s built for her, no contest. The four-piece kicks in every time Bond ramps up or drops, stacking 18% damage for six seconds up to three times. Arlecchino’s constant Bond juggling means you lock in 54% extra damage non-stop through fights.
If you’re still grinding or short on pieces, try these:
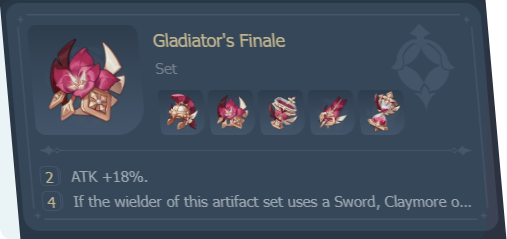
- Gladiator’s Finale for steady ATK and normal attack bumps on polearms

- Echoes of An Offering if subs roll hard
- Crimson Witch of Flames for reaction spam
- Desert Pavilion Chronicle in EM vape setups
- Two-piece mixes like Harmonic plus Gladiator until full sets drop


Main stats keep it simple:
- Sands grab ATK% usually; EM sands for vape/melt focus
- Goblet locks Pyro DMG Bonus (EM only in pure reaction mode)
- Circlet crits to nail 1:2 balance
Subs chase crit rate and damage first, ATK% second, EM for reactions, ER last since burst isn’t your damage engine.
Skip HP pieces entirely – her scaling ignores flat HP despite Bond using percentages. ATK and crit drive the real pain; HP just pads the math without boosting hits.
Weapon Selection Guide
Crimson Moon’s Semblance crushes it as her sig. 674 base ATK at 90, 22.1% crit rate, and the passive meshes seamless. Charged attack landing gives 25% max HP Bond (once per 14 seconds). Any Bond active? 12% damage up. Over 30% max HP Bond? Stack another 24%.
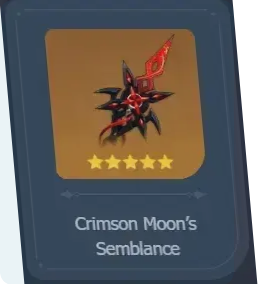
That setup makes charged attacks double as Bond fuel and output boosters. The weapon basically gifts you damage layers for playing her straight.
Other five-stars hold up:
- Staff of Homa – 608 base, 66.2% crit damage, HP bump with ATK from max HP
- Primordial Jade Winged-Spear – Solid crit stick, ATK ramps via passive
- Staff of the Scarlet Sands – Great for EM with ATK swaps


Four-stars that deliver:
- Deathmatch – Crit rate stick with ATK depending on foes
- Ballad of the Fjords – Fills gaps without five-stars


Top F2P pick? White Tassel. 401 base ATK, but 23.4% crit rate and 24% normal attack boost. She thrives on normals in Masque, so that passive turns into steady DPS gains, no pulls required.

Team Composition Strategies
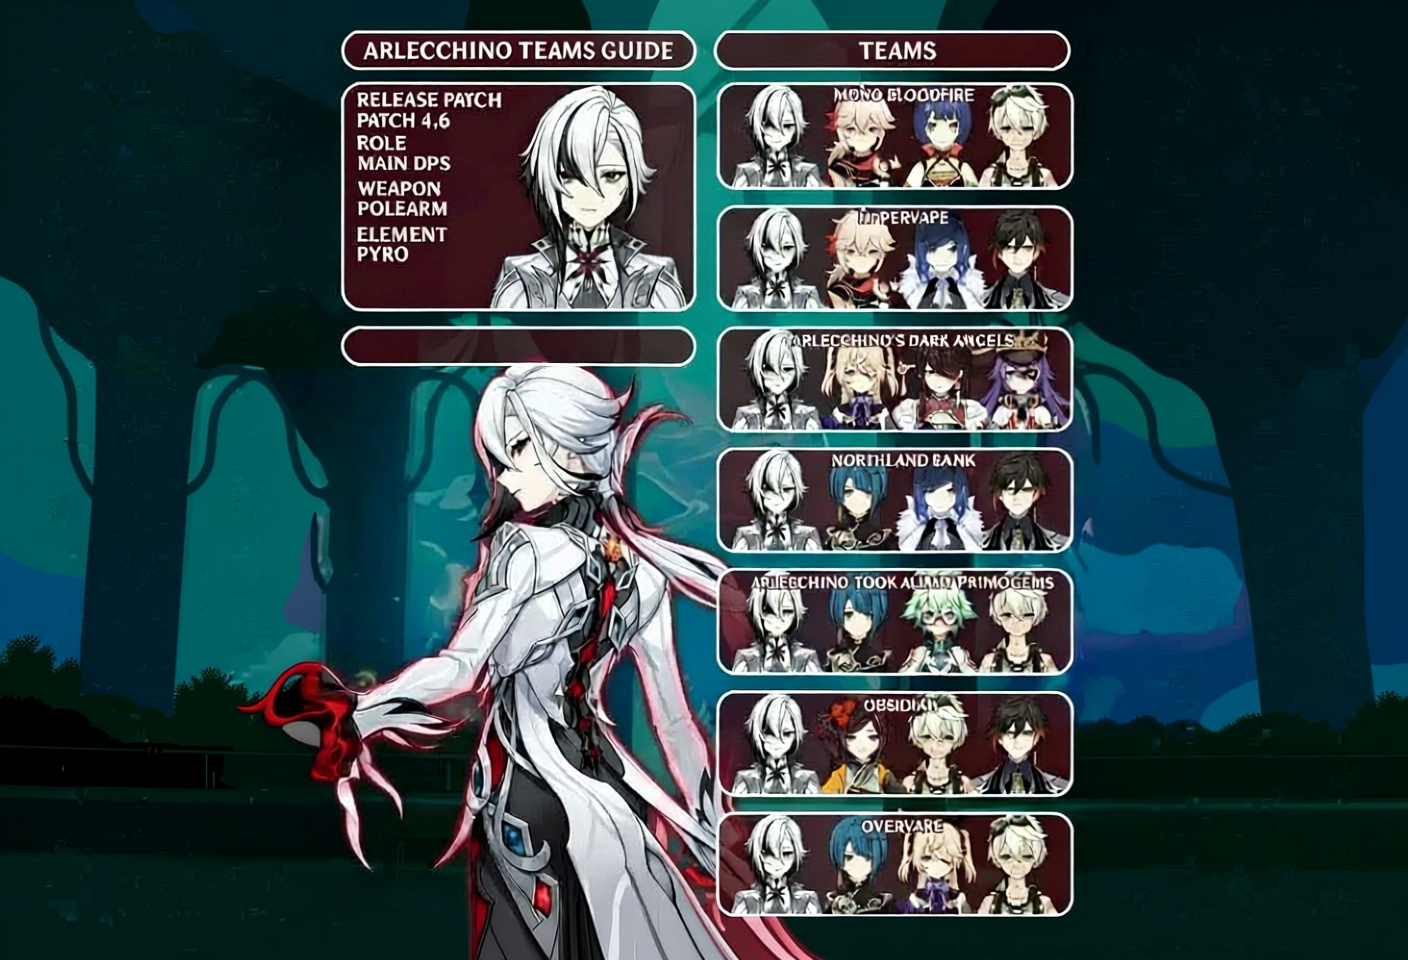
Vaporize Teams
Hydro partners turn her into a single-target shredder. Yelan tops the list – her off-field hydro syncs with Arlecchino’s pace, damage amps multiply hard, and she skips pyro aura fights. Go-to vape: Arlecchino  / Yelan
  / Bennett
  / Kazuha
  . Bennett’s ATK spike works even if his heals bounce off (buff sticks regardless). Kazuha clumps, shreds res, shares EM for pyro punch. Yelan keeps hydro flowing for vapes. Xingqiu
  swaps in sans Yelan. Rain swords add defense with hydro, but you miss her amp passive.
Melt Compositions
Cryo enablers let her trigger 2x melt multipliers. Citlali  rules here – steady cryo, shields for her style, res shred all around. Melt core: Arlecchino
  / Citlali
  / Bennett
  / Xilonen
  . Xilonen
  adds more shred and zip. Rosaria or other cryos sub for Citlali, but comfort and ceiling drop.
Overload Setups
Electro crew sparks overload while Chevreuse  juices the whole thing. Fischl’s
  Oz drops electro steady, spits particles, stays off-field. Overload staple: Arlecchino
  / Fischl
  / Chevreuse
  / Bennett
  . Chevreuse
  buffs pyro/electro squads huge, so she’s locked in. Raiden, Yae, or Beidou
  fill electro based on your pulls and mobs. ER dips low in overload – reactions and electro res feed particles plenty.
Mono Pyro
All-pyro taps resonance and pure buffs. Xiangling  piles off-field pyro and energy. Kazuha
  or Sucrose
  swirl pyro for shred and amps. Mono base: Arlecchino
  / Xiangling
  / Kazuha
  / Bennett
  . Shines on low-pyro-res foes, rotations stay simple without reaction hassles.
Burning Teams
Dendro mixes spark burning DoT. Emilie  leads as burn sub-DPS, rides Arlecchino’s pyro for dendro hits. Nahida
  subs with grouping and EM spread. Burn frame: Arlecchino
  / Emilie
  / Nahida
  / Flex (Deepwood holder for dendro shred). Clusters best where burning chains wide.
Shield-Heavy Compositions
No external heals mean shields save her from staggers and death. Zhongli  owns comfort – unbreakable shield, res shred, petrify clumps. Double geo: Arlecchino
  / Yelan
  / Zhongli
  / Albedo
  . Albedo
  (or Chiori
  ) adds geo off-field while res pops. Trades peak damage for safe, steady clears.
Rotations & Combat Flow
Standard All-In Rotation
Skill for marks → supports for buffs → back in → Charged to eat marks and stack Bond → Normal spam → Burst if low HP → loop. Hold five seconds post-skill so Directives hit Due status. Doubles Bond haul, stretches Masque longer.
Quick Rotation Without Burst
Skill → Charged → Normals till Bond runs dry. Pull this when burst is down or mobs drop fast. Normals eating Bond cut skill CD natural, cycling faster than raw timer.
Emergency Healing Protocol
HP tanking? Burst to dump Bond and patch up. Resets skill, so mark right away. Charged rebuilds Bond and Masque. Back to normals.
C6 Optimization
C6 folks open Skill → Burst → Skill. Fires crit buffs early, keeps Bond via reset. +10% rate and +70% damage covers full swings.
Constellation Breakdown

C1 – All Reprisals and Arrears, Mine to Bear
Masque boost climbs to 100-120% higher values. But the stagger resist on normals and charged in Masque? Game-changer. Base her gets knocked around mid-chain, wasting Bond and DPS. C1 fixes that mess and amps output. Best con hands down. Value rating: Extremely high (★★★)
C2 – All Rewards and Retribution, Mine to Bestow
Directives start as Dues – no wait. Absorb one, and Balemoon Bloodfire nukes 900% ATK AoE pyro plus 20% all res and physical res for 15 seconds. Instant Dues ease rotations – no timing upgrades. Res and nuke help, but not revolution. Value rating: High (★★☆)
C3 – You Shall Become a New Member of Our Family
Normal attack levels +3 (cap 15). Straight damage up since normals carry her load.
C4 – You Shall Love and Protect Each Other Henceforth
Absorb Directive? Burst CD -2 seconds, +15 energy (10-second trigger). QoL for burst access, but since it’s heal/reset over damage, minor bump.
C5 – For Alone, We Are as Good as Dead
Burst levels +3 (cap 15). Scales heal and damage better, still not core shift.
C6 – From This Day On, We Shall Delight in New Life Together
Burst damage = ATK × 700% current Bond percent. Post-All Is Ash, normals and burst get +10% crit rate and +70% crit damage for 20 seconds (15-second trigger). Burst goes from tool to bomb, crits skyrocket swings. Covers rotations full. Value rating: Extremely high for burst-oriented builds (★★★)
Pulling Priority Discussion

Debate rages on C1 vs sig weapon post-C0. Both sides stack up.
Pro-C1 Arguments
- Stagger resist feels essential sans shields
- Unconditional damage layer
- Homa or Jade often already in bag
- QoL leapfrogs weapon gains
Pro-Weapon Arguments
- Semblance fits her like a glove
- Scythe drip for collectors
- Bond passive syncs perfect
- No strong five-star pole? Bigger jump
My take by account:
- Got Homa or crit pole? C1 first
- Weak poles and drip hunter? Sig weapon
- F2P/low spend? Tassel holds; C1 next
- Mid spend? C1 → weapon → C2 maxes primos
Advanced Optimization Tips

Bond Management
Ease off charged spam – let marks hit Due when you can. Doubled Bond keeps Masque rolling, widens damage phases. Multi-mark charged hits speed stacking in packs.
Burst Timing
Burst sans heal need? DPS dip. Clears Bond, rebuild needed for Masque. Save for low HP, phase ends, or clump nukes. C6 flips it – burst more for crits and scaling.
Skill Cooldown Reduction
Normals in Masque eat 7.5% Bond, cut 0.8 seconds CD. Steady rhythm drops effective CD under 20 seconds with good Bond play.
Energy Funneling
Low ER on her, but squad matters for burst. Favonius supports feed particles. Pyro batteries like high-ER Bennett or Xiangling ease her load. Tune subs to real team, not blanket numbers.
Reaction Timing
Vape demands hydro balance – overdo it, Yelan vapes instead. Under, raw pyro. Yelan’s rate lines up clean at good ping; Xingqiu needs rhythm tweaks. Melt watches ICD on cryo. Citlali shield pulses cryo; sync big normals to pulses for melt on crits.
Common Mistakes to Avoid

Building HP Stats
Bond percentages don’t mean HP scales damage. HP% pieces bloat numbers without output lift. ATK and crit only.
Overvaluing Energy Recharge
Rookies stack ER fearing 60-cost burst. Reality: burst is heal button, not cycle staple. Team energy covers it fine.
Forcing Burst Into Rotation
Quit jamming burst every CD like DPS ult. It’s heal/reset/AoE specific. Wrong use wipes Bond, kills uptime.
Ignoring Interruption Resistance
No-C1 base gets staggered everywhere. Breaks chains, wastes Bond, tanks DPS. Grab C1, shielder like Zhongli/Citlali, or deal with clunky fights.
Wrong Talent Priority
Burst first? Nah – normals drive sustain. Burst barely dents total at C0.
Damage Showcase Numbers
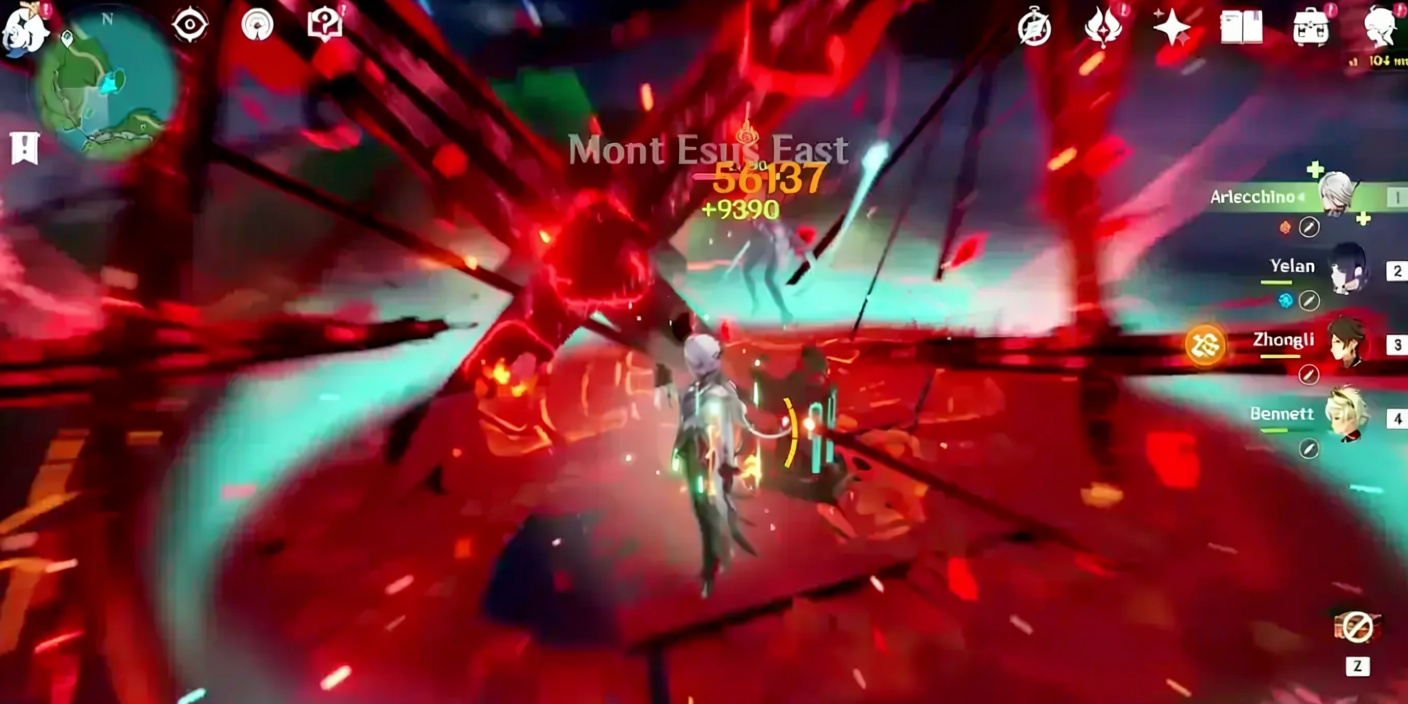
F2P with Tassel, okay artifacts, right team? Normals clip 200k+ in Masque. Vape doubles to 400k singles. C0 invested – Semblance, tuned pieces – normals raw 300-400k, vaped 600-800k. Kazuha shred, Bennett snap, Xilonen res drop? Hits crack million. Those 2.4 mil clips? Real from Kazuha EM/share → Bennett → Yelan amp → multi-Due charged → top normal vaped with buffs. C6 perfects burst solo over two mil via Bond scale and crits.
Material Investment Requirements
Level 90 ascension needs:
- Fragment of a Golden Melody: forty-six
- Rainbow Rose: one hundred sixty-eight
- Pyro gems: usual ramp (sliver to gemstone )
- Mora: 420,000 just for ascends


Talents to 10:
- Order teachings/guides/philosophies (Wed/Sat/Sun)
- Fatui insignias (recruit to lieutenant )
- Fading Candle (weekly): six per talent
- Mora for three to 10: 4,876,500


Crowns for post-10 if cons past C3/C5.
Final Thoughts
Arlecchino sits odd in the meta. Not plug-and-play like some carries – Bond juggling, no heals, stagger woes demand real practice. Nail it, though, and she’s top sustained DPS in the game.
No outside heals cripples on spec, but it pushes smart plays that click hard when right. Balance Bond for damage vs burst for survive. Treat her hypercarry style: max ATK, tight crits, reaction buddies, shields or C1 for staggers. Harmonic Whimsy? Made for Bond flux, damage stacks no other set touches.
Sig or C1 first? Your roster decides. Both huge. Tassel F2P solid, no shame in numbers. She’ll mesh with Nod-Krai drops later, long-haul value. Now she’s elite pyro DPS with Hu Tao, Yoimiya – sustained edge in right spots.
Pulled her and she’s benched? Gear up, farm Whimsy, snag Tassel, master Bond. Those Masque normals hit filthy when dialed.